Menus can be used to expand the amount of items available on the POS Screen.
They can be used to step users through a menu selection to ensure that each detail is recorded before proceeding.
Menus are also required for the use of the Ideal Handheld modules.
Menus need to be created before they can be linked to a button on the POS Screen.
Once a menu has been created the buttons within it are able to be modified through the POS Screen or the Menu list.
A menu can be locked to a Price Level.
Menus when linked on the POS Screen will have the same button appearance as standard buttons, but the menu items will be “flat”.
The difference between Menus and Grids is that Menus will display all items in a list function, with a scroll bar if the menu has more items than can fit within the area designated for the menu.
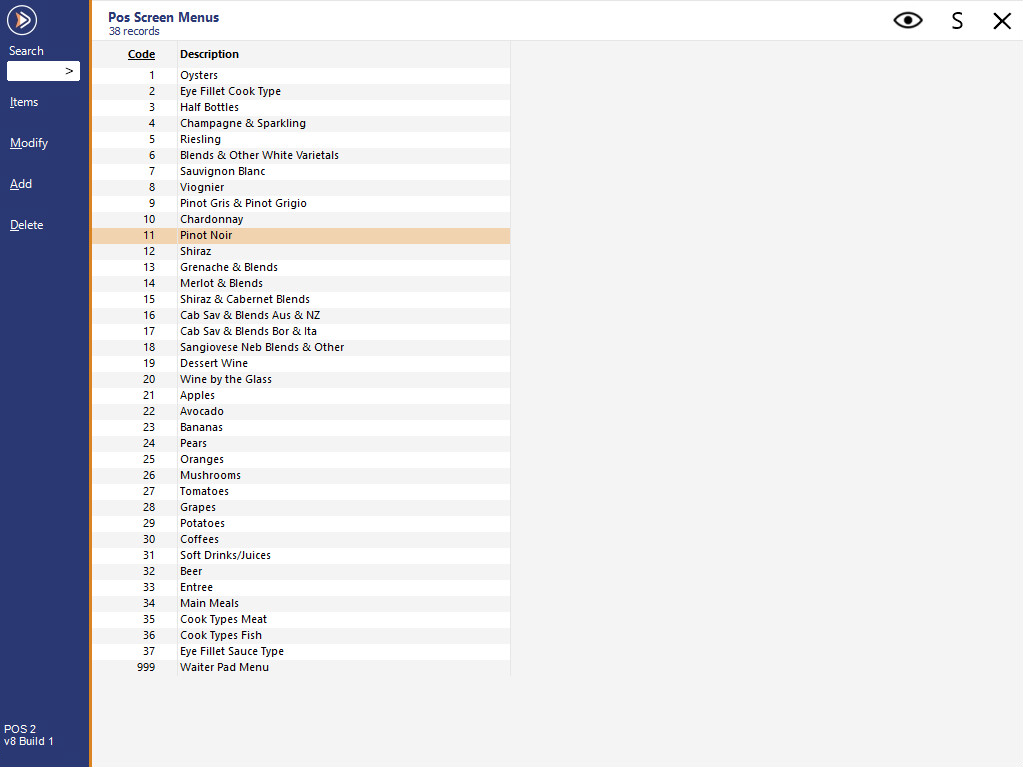
The Menu List is simply a list of all the menus created in the database.
There are four available buttons in this screen.
This button will allow you to add a new menu to the database.
The Code field will automatically assign the next available code.
The Code has no specific function in relation to how the menus will work on the POS Screen, but they can be used to group various menus together.
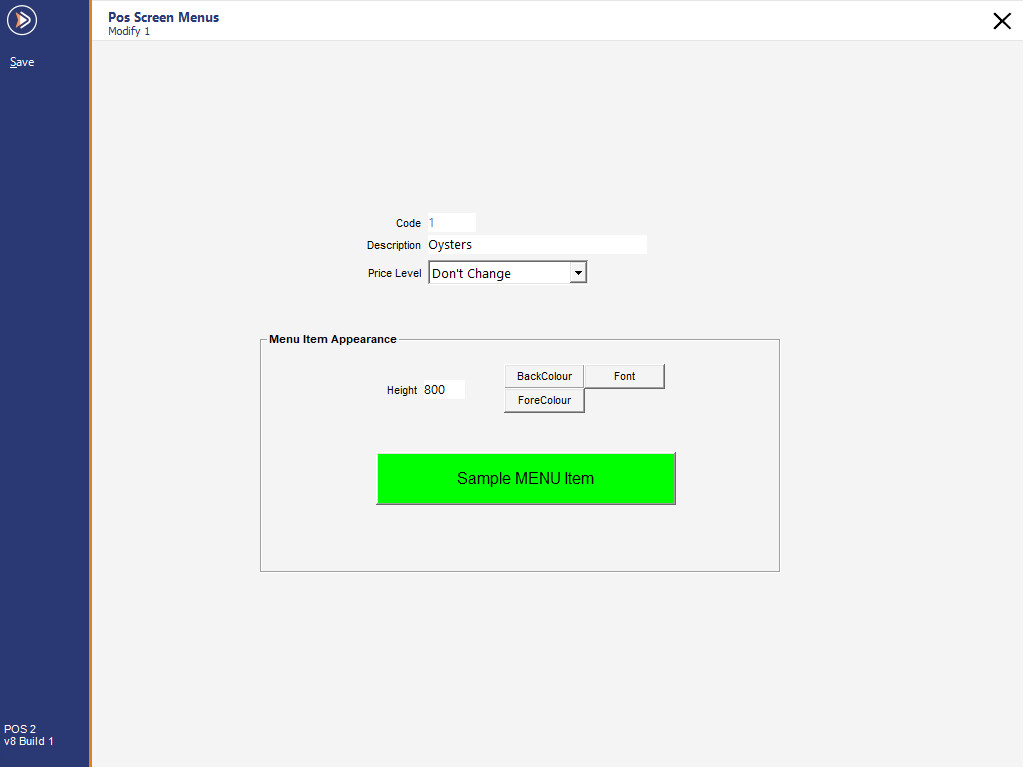
This button allows you to modify the menus Description, Price Level and Appearance.
This button will allow you to delete the menu from the list.

This button will allow you to enter items to use within the menu.
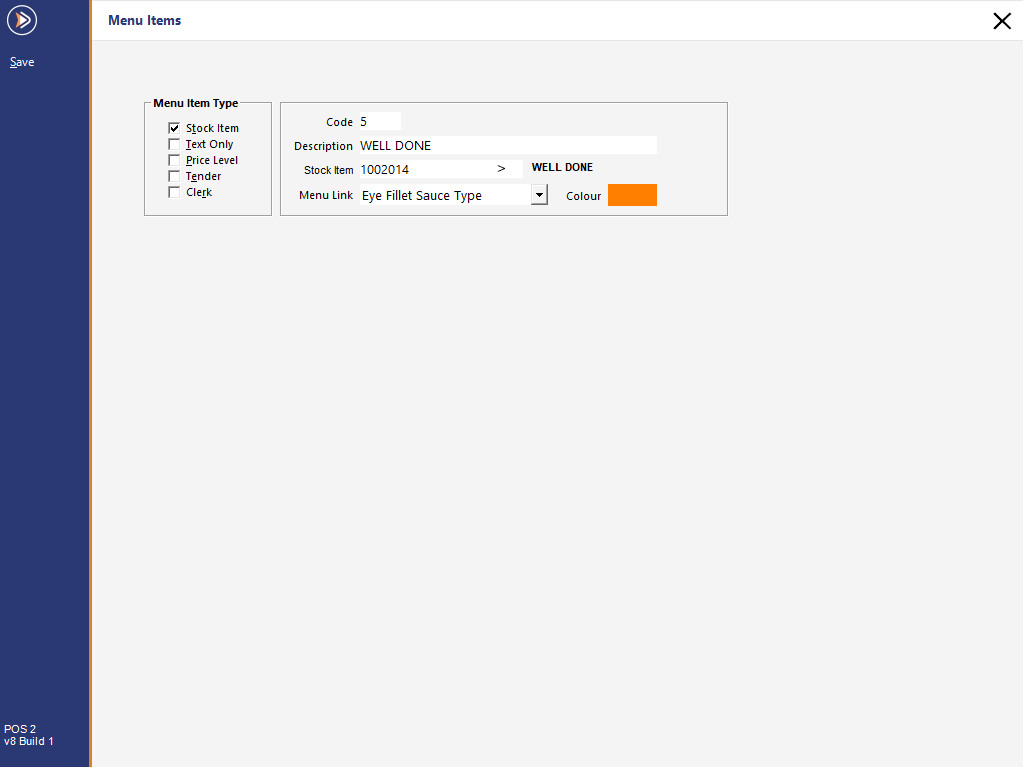
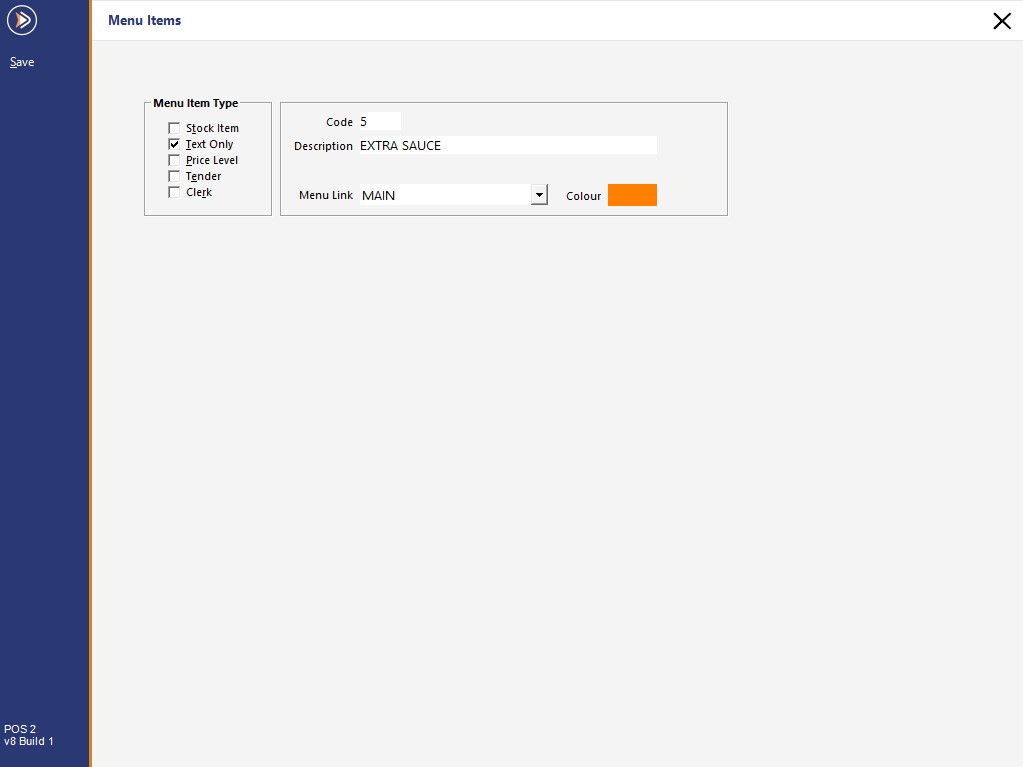
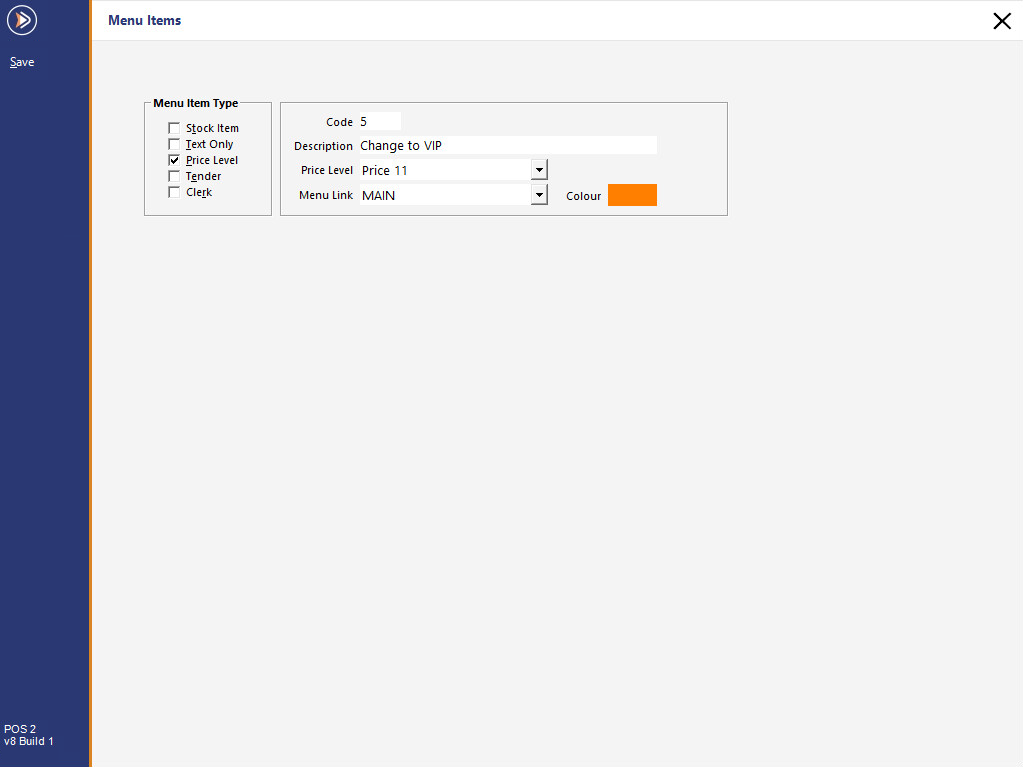
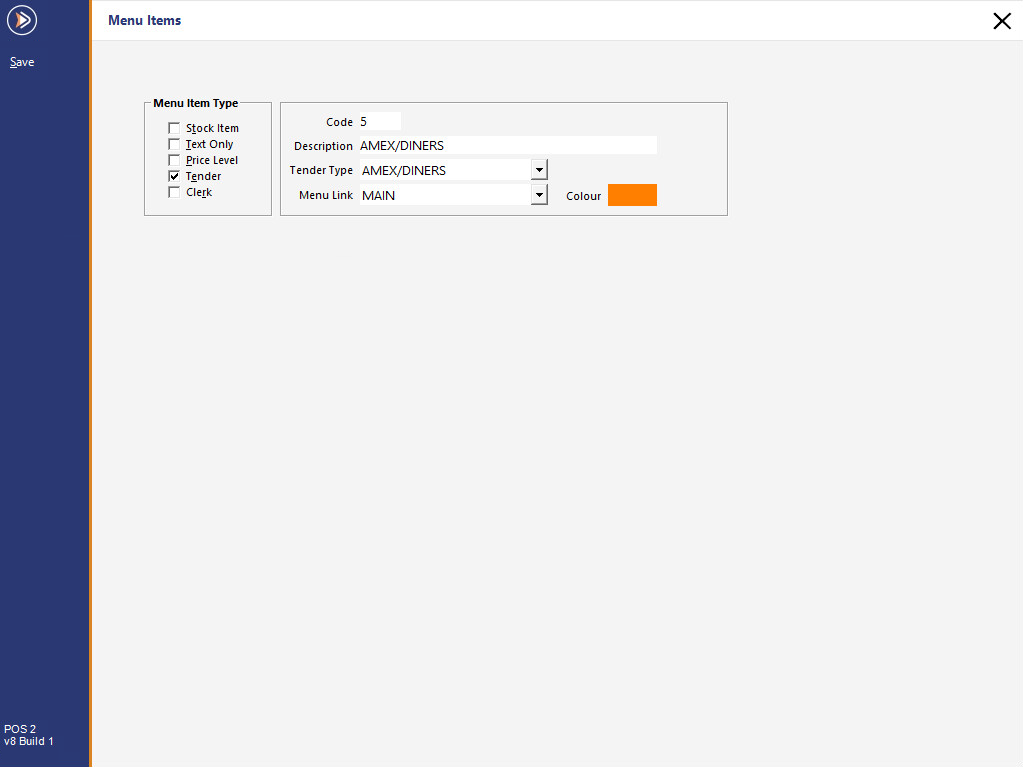
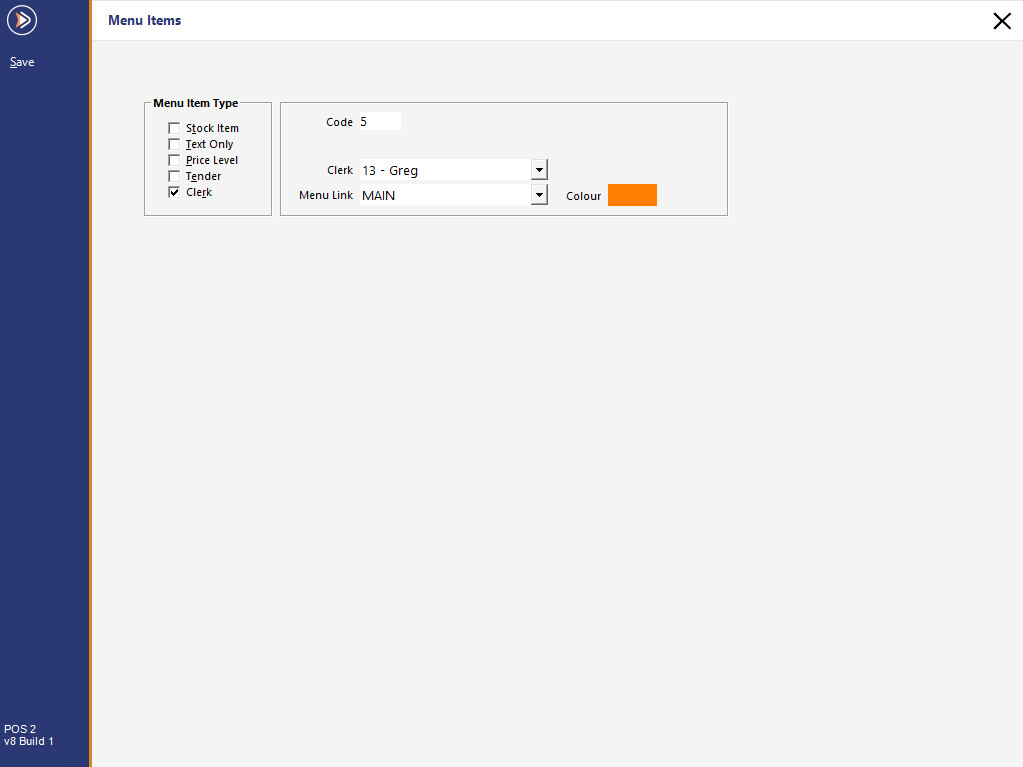
When adding items to a menu, you have a selection of five different types of menu items.
It is possible to have multiple types within the same menu, but it is not cohesive to work with and we wouldn’t recommend it.
The only option for when menu item types should be used together is Stock Item and Text Only.
Some menu types are unable to be used in conjunction with Clerks.
This is the colour that will display in the menu.
This field is a drop down box and will determine what is supposed to happen after the button has been pressed.
MAIN – This will link the button to the “Main” POS Screen. Essentially it will exit you from the menu and take you back to the default POS Screen.
MENU DESCRIPTION – This will enable you to select from all the other created menus. If you want to keep the operator in the menu they are currently working on, ensure that the menu link selected is the menu they are using.
This type will allow you to add a Stock Item to the menu.
This type allows you to enter a Text Only item.
This will act as a Text Entry (Hash).
This will allow you to change the price level.
This will allow you to select a specific Tender for use.
This will allow you to select a Clerk for the sale.
If all the checkboxes are un-ticked, this will act as a link to another menu or the POS Screen.
This is generally only used in the Ideal Handheld modules.

When all the items have been added to the menu, they will be listed according to their Code.
