The information below outlines the process for configuring the v400m terminal with Oolio Pay Global.
To skip to a particular section, click on the required link below:
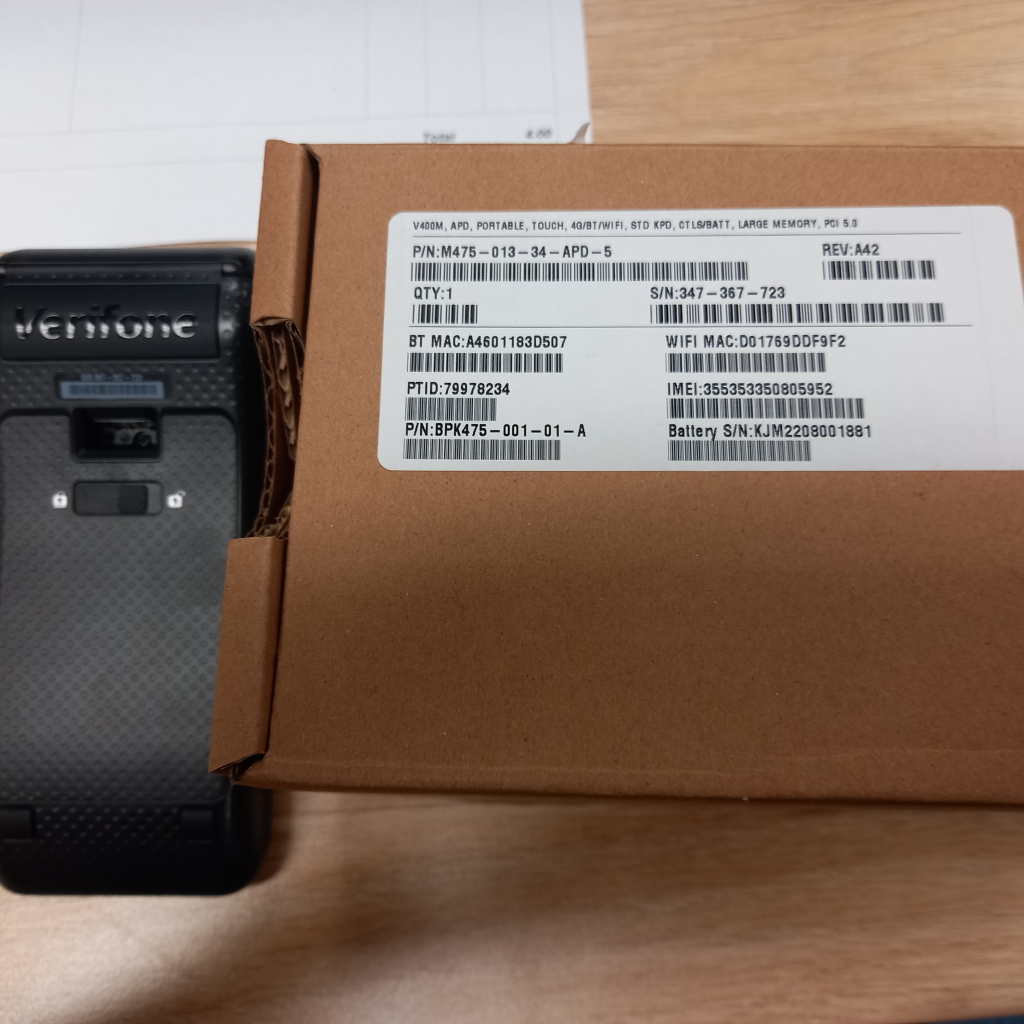
The Serial Number is located on the back of the Pinpad, or on the box that the Pinpad was supplied in.
The box that the Pinpad was supplied in will also list the MAC Addresses (WiFi MAC and BT/Bluetooth MAC) which can be used for potential troubleshooting.
BT MAC is the base cradle.
WiFi MAC is the Pinpad.
Note!
For any additional changes such as enabling Cash Out, Show Surcharge Message, Pinpad Volume, Receipts; these must be changed in the ADYEN portal, then sent to the system via the CONFIG icon.
Note!
Ensure that Undistributed Surcharge Link is configured as part of the setup process.
The configuration of the Undistributed Surcharge Link is not listed below, however, the process on setting up Undistributed Surcharge Link is configured in Back Office > Setup > Global Options > Sales.
This is outlined in further detail in the Global Options > Sales topic of the User Guide, available by clicking here.
If Undistributed Surcharge Link is not configured, Idealpos will default to showing Surcharges as Stock Code 1: EFTPOS Surcharge.
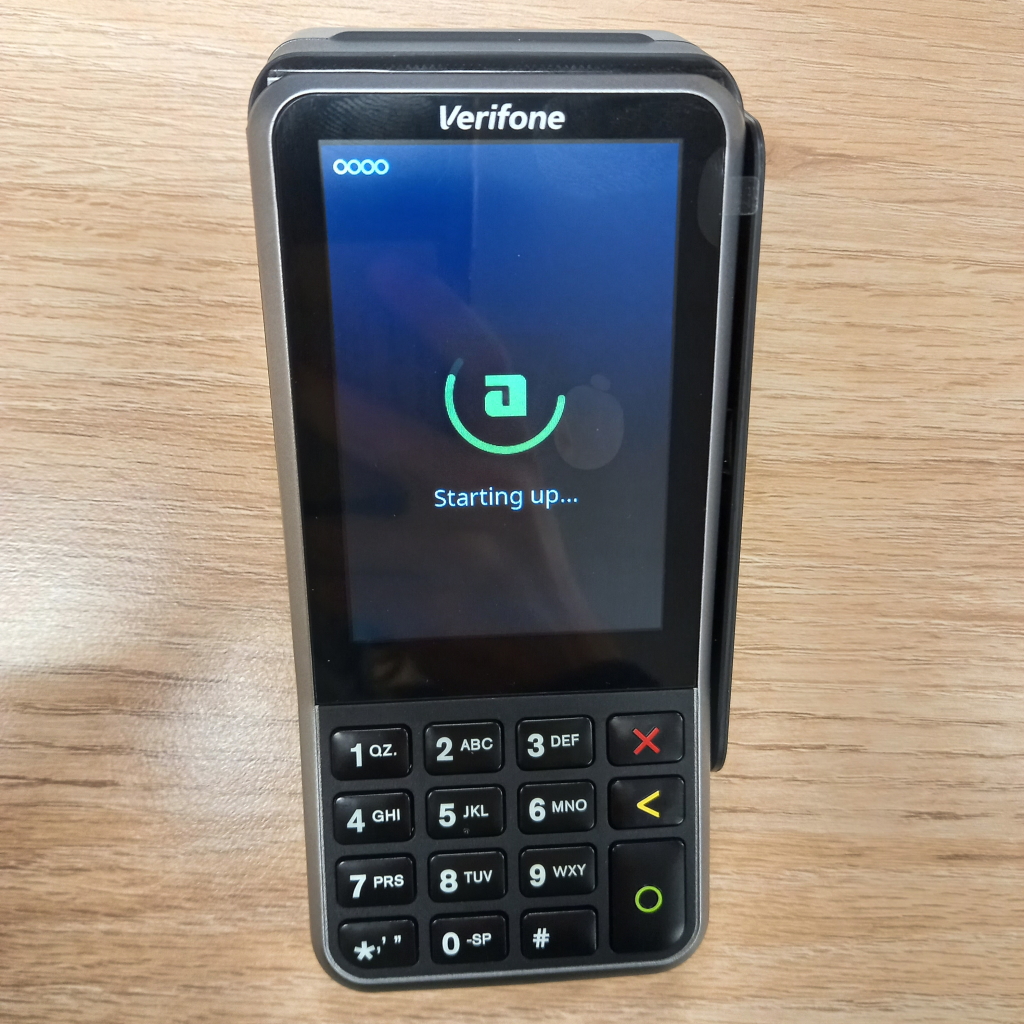
Boot the device by pressing and holding the green "O" button.
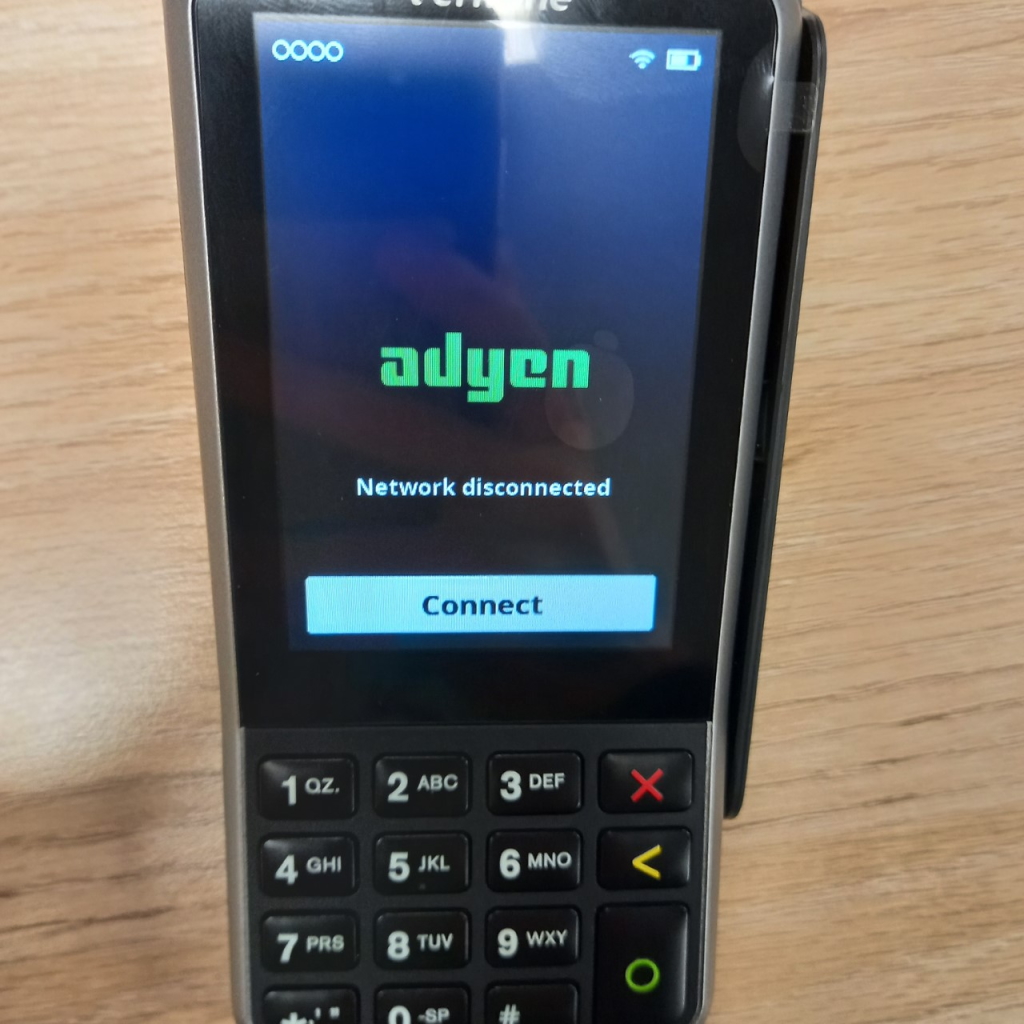
The system will need to be 'onboarded'.
Contact Idealpos for assistance.
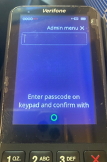
Hold 9, Press Enter to access the ADMIN Menu.
Enter the admin password.
The Default password is 2015; this can be changed in the ADYEN portal.
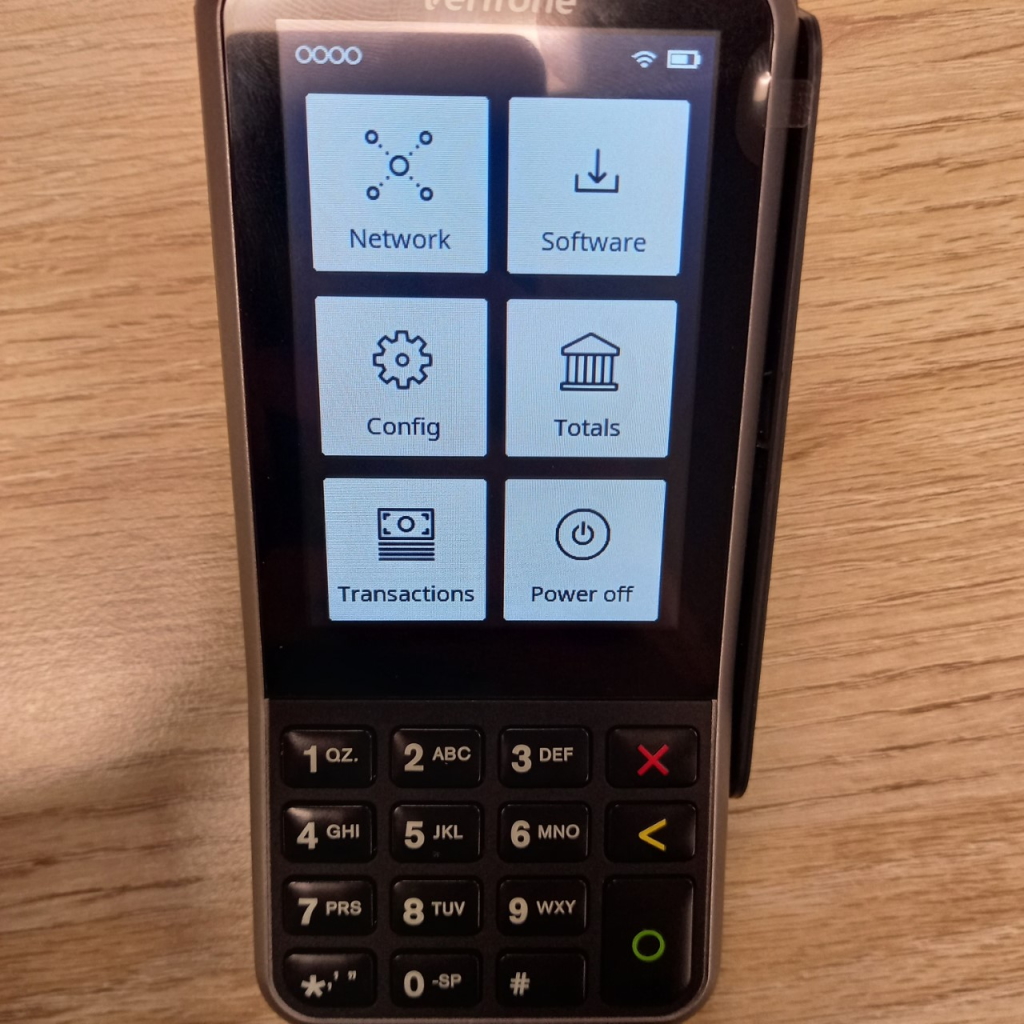
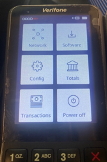
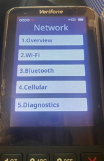
Navigate to the Network via the top-left icon on the touchscreen.
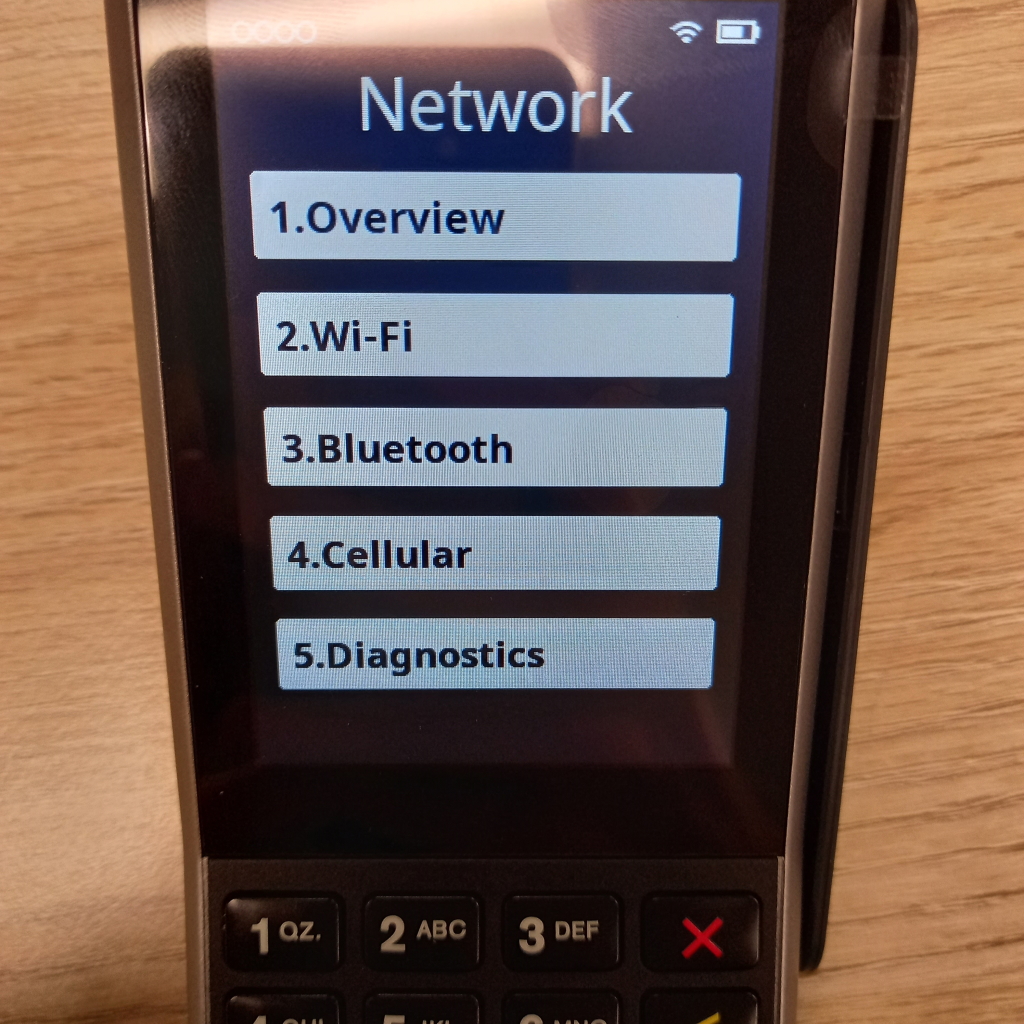
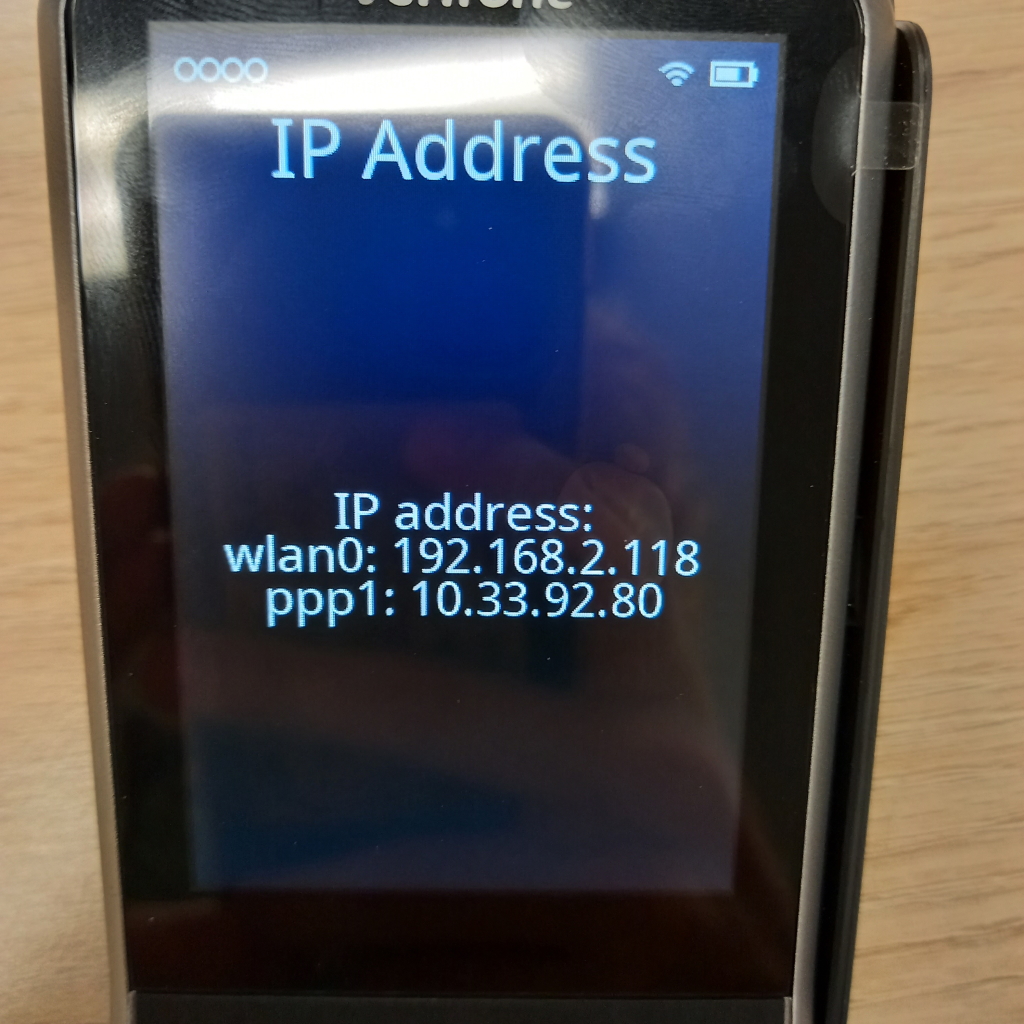
Selecting "1. Overview" will provide the current network settings.
Select your connection type; in most cases, either 2. WiFi Network or 4. Cellular.
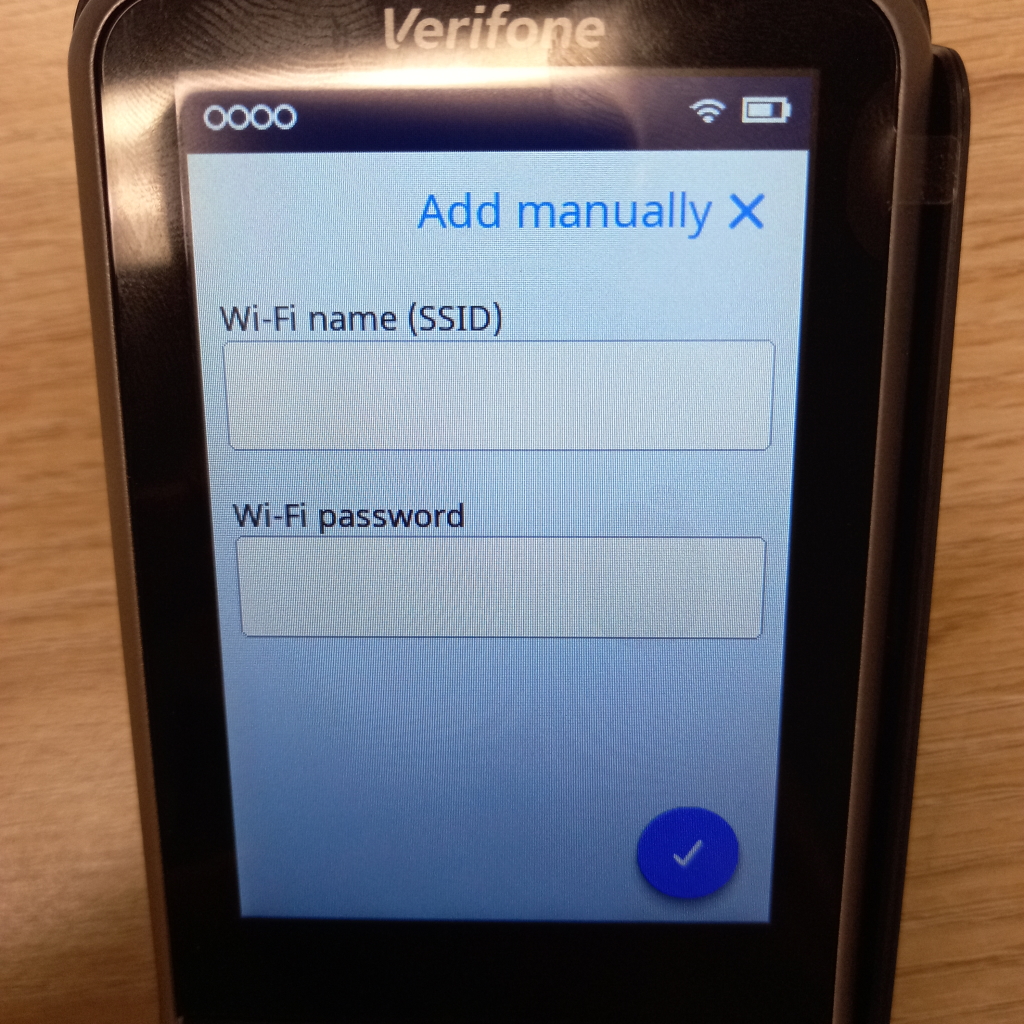
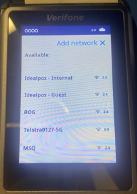
Select the network you wish to join, or press the PLUS to manually enter the SSID and enter Password.
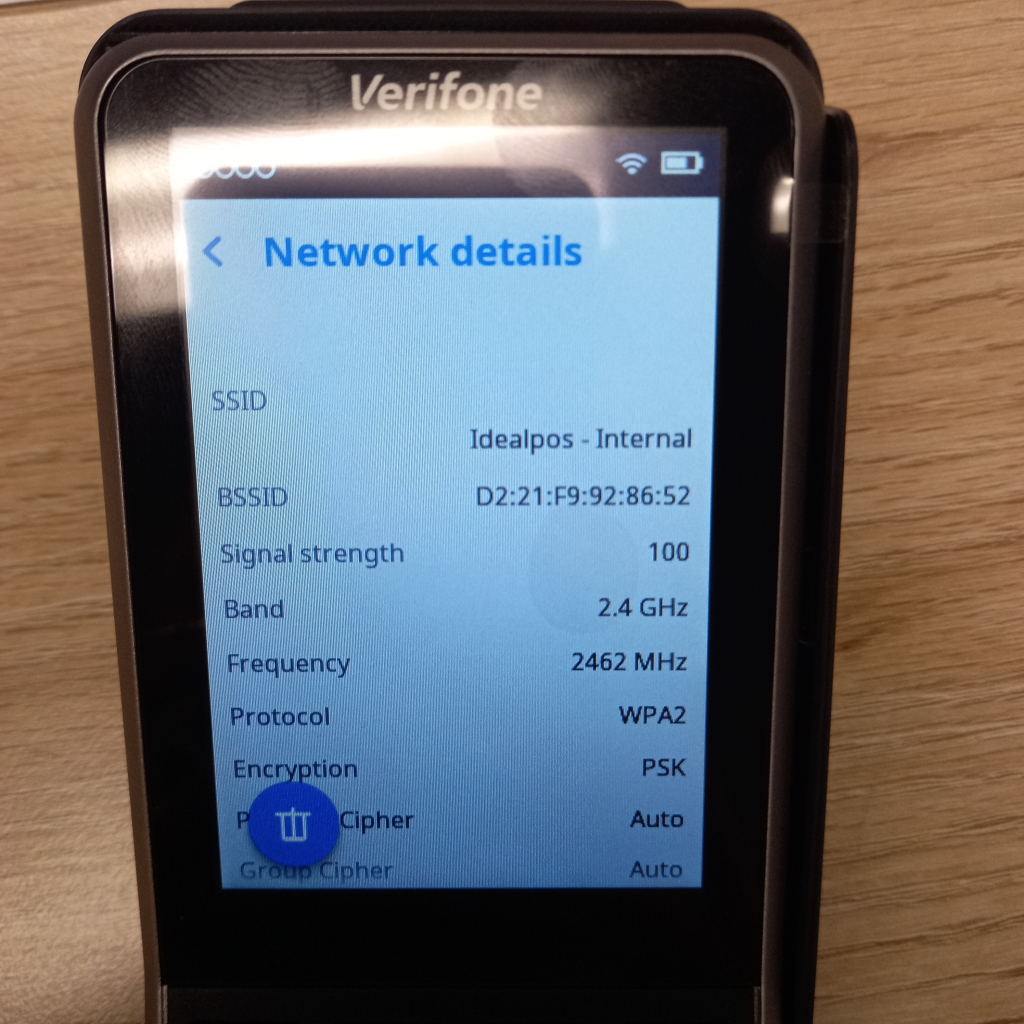
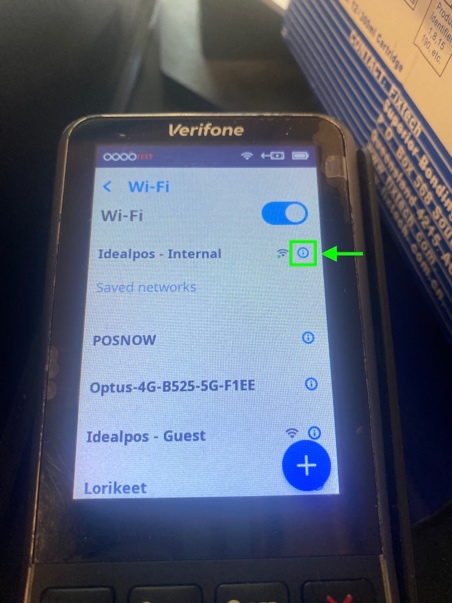
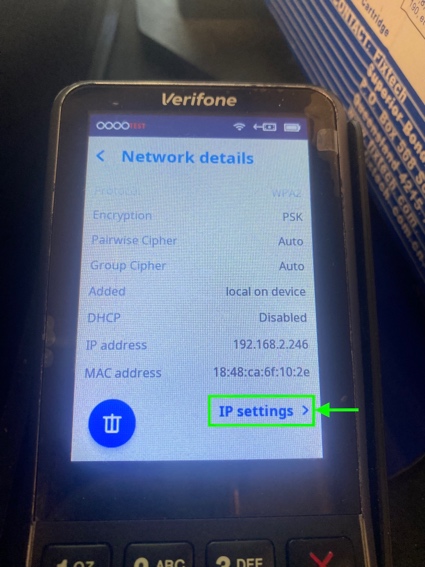
Press the (i) icon next to the selected network.
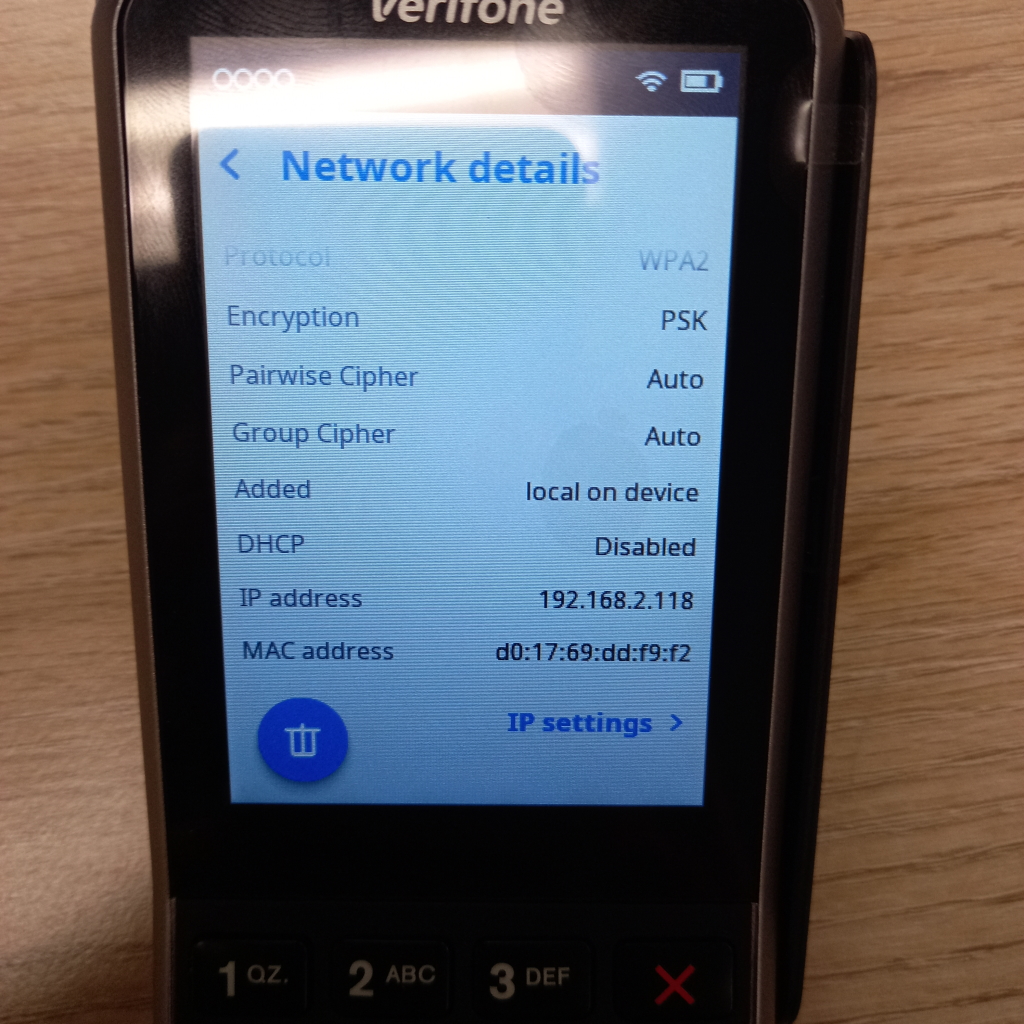
Scroll to the bottom of the page and select IP Settings.
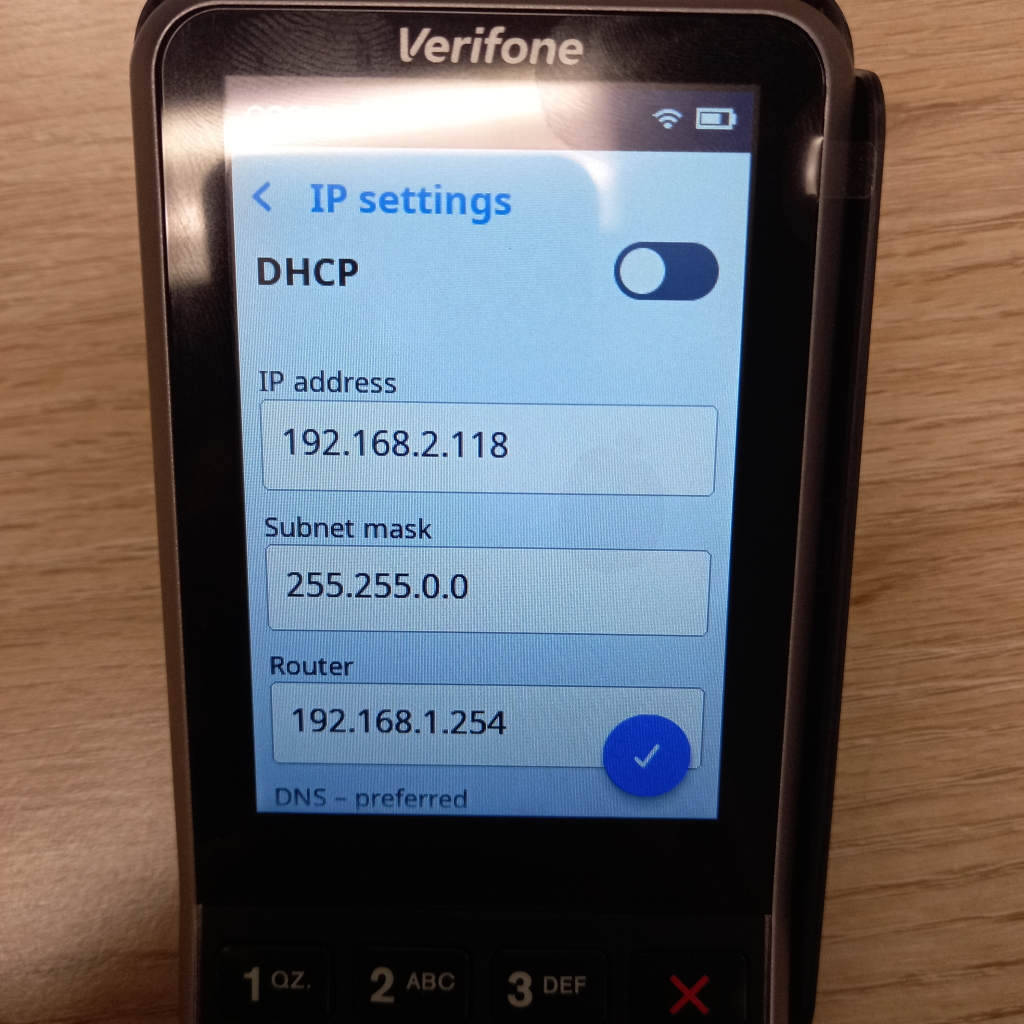
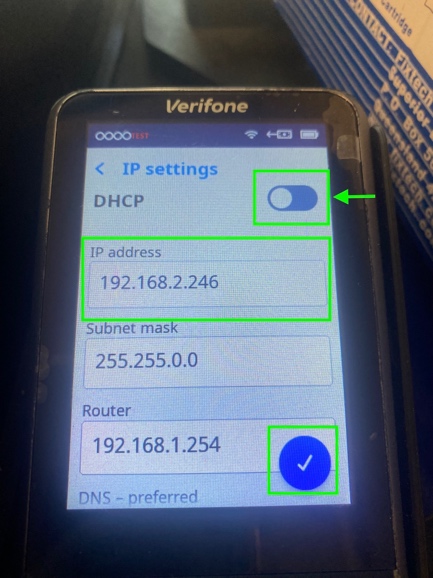
Either configure a static lease for DHCP using the MAC Address of the device found on the box, or disable DHCP and configure a Static IP address.
Make sure that this address is not already used on your network and confirm that it is outside the DHCP range set by your modem/router/DHCP Server/etc.
Enter the new IP address using the keypad, double-press '1' to add the period (.) for octet separation.
Confirm the changes and return to the home screen.
The pinpad can only be connected to the POS via the home screen.
Ensure that the POS Terminal has the correct licensing for Oolio Pay Global.
Merchant Name: This will be supplied by Idealpos, generally IDEALPOS_POS_SITENAME. The Merchant Name OolioGroup_AFP may also work.
Pinpad ID: V400m-######### (Model Name and Serial Number). Note that on the EFTPOS unit, the serial number is listed with hyphens, but when configuring in Idealpos, leave out the hyphens.
IP Address: As configured on the device.
To finalise the installation, confirm that the site has an EFTPOS Functions and EFTPOS Settlement button on the POS Screen.
These buttons can be created/added to the POS Screen via Idealpos Back Office > Setup > POS Screen > POS Screen Setup > Select a POS Screen Layout > Buttons > Select a POS Screen Tab > Select a blank button.
Select the "EFTPOS Functions" option from the list > Save.
Create another button > Select the "EFTPOS Settlement" from the list > Save.
V400m, P400Plus, V400CPlus
Note!
Some of these functions are outlined above.
The below contains some information from above in a summarised format.
1. Go to EFTPOS Terminal.
2. Hold 9 & press ENTER (green O).
3. Enter 4 Digit Admin Passcode (2015). If 2015 doesn't work and the venue doesn't know their passcode, please contact Idealpos.
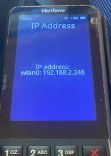
1. Access Admin menu.
2. Select Overview - This will show the device's current IP address(es).
1. Access Admin menu.
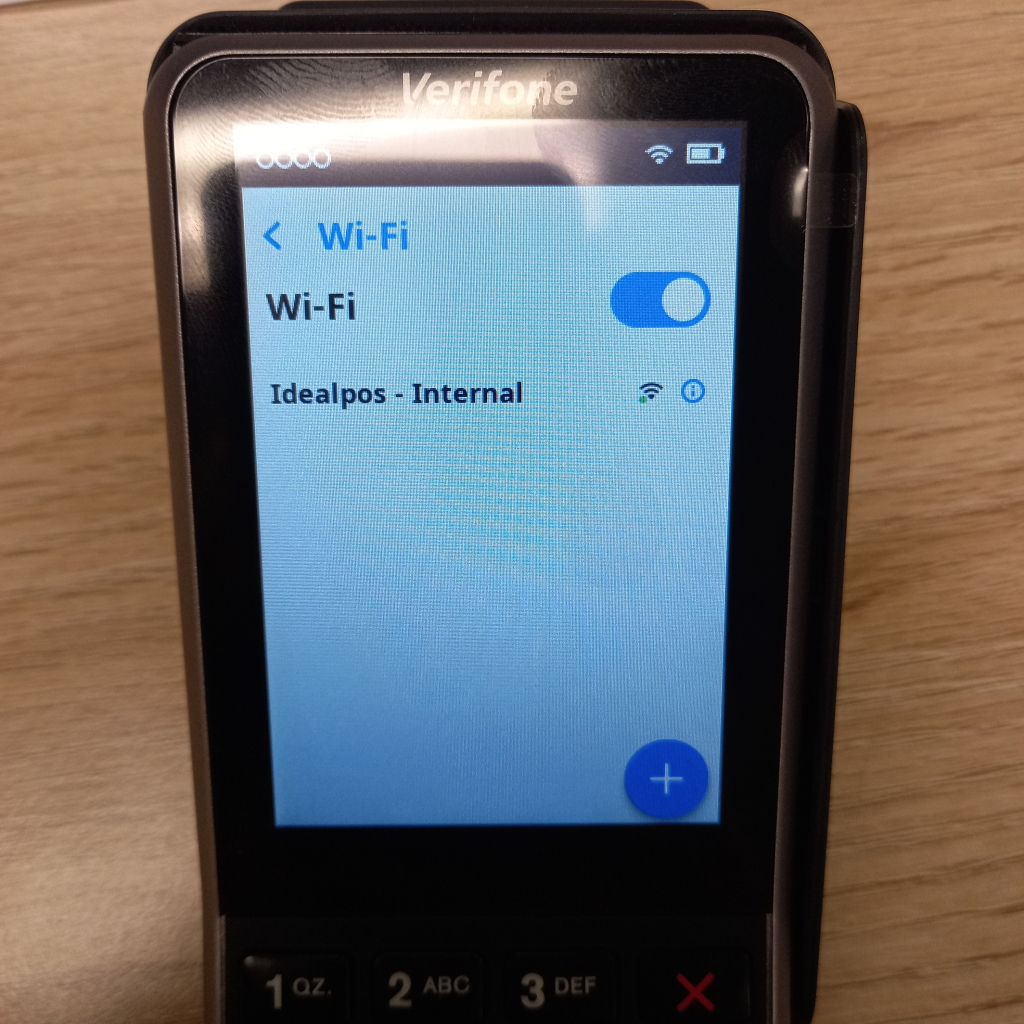
2. Select Network.
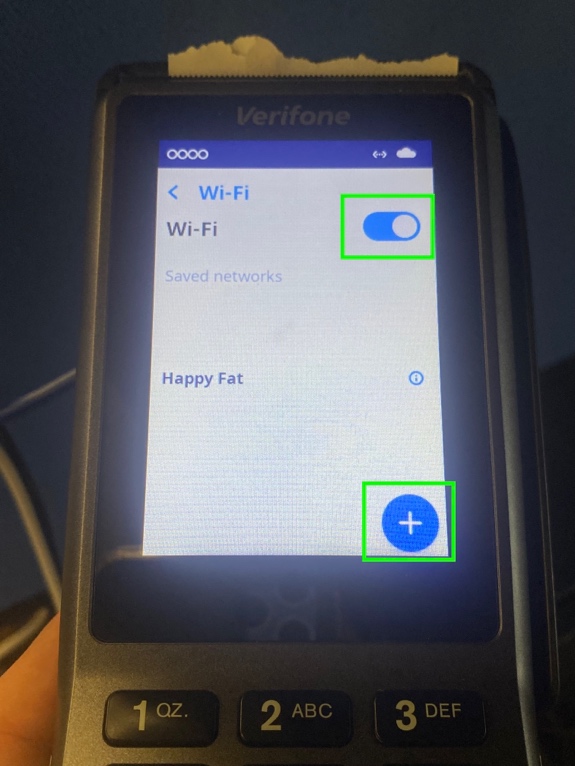
3. Select WiFi.
4. Toggle WiFi on (if not already on).
5. Click the plus sign on the bottom right corner.
6. Select the required network.
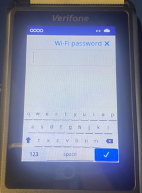
7. Enter Password and click the blue tick on the bottom right.
1. Access Admin Menu.
2. Select Network.
3. Select WiFi/Ethernet.
4. Locate the connected network and click on the 'i'. This will give you an overview of the network.
5. Scroll to the bottom and select 'IP settings'.
6. Toggle DHCP off.
7. Set the IP address (press 1 twice to get a dot).
8. Press the blue tick on the bottom right corner to save the settings.
1. Access Admin menu.
2. Select Reboot.
1. Access Admin menu.
2. Select Power off.
3. Press and hold ENTER (Green O) to power on.
1. Access Admin menu.
2. Select Config.
3. Select Update (1).
4. Device will then check for any updates and update if required.
1. Access Admin menu.
2. Select Software.
3. Click Update.
4. Device will then check for any updates and update if required.
Note!
1. Access Admin menu.
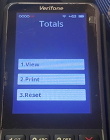
2. Select Totals.
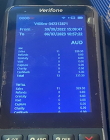
3. You can view, print or reset totals.
4. If you print the settlement, it will then ask you if you want to reset totals.
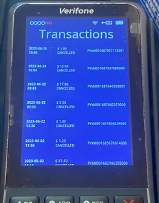
1. Access Admin menu.
2. Select Transactions.
3. You can view all transactions and the response (Approved, Declined, Cancelled, etc.).