
The process below demonstrates the Idealpos Local Serves Online Ordering process when the "Enable Web Orders to be linked to Table Map" function is enabled.
If you wish to skip to a particular step in the process, select the relevant link from the list below:
The customer will scan a QR Code at the Table.
The Idealpos Local Serves Online Ordering site will be displayed on their smartphone device.
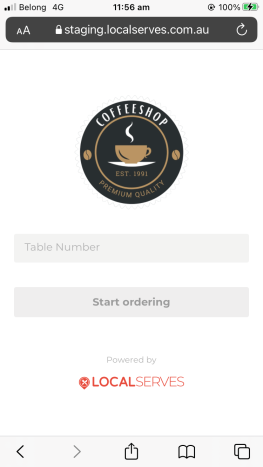
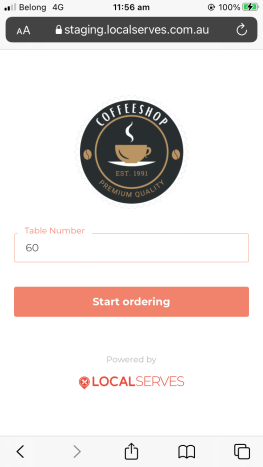
The customer will need to enter their Table Number, then press "Start Ordering" to proceed:
The next step the customer will complete is to select the items they wish to order.
Selecting an item from the menu will display the details about the item and any options which can be added or excluded from the item.
To add the item, they will press the "Add" button at the bottom of the screen.
The item is added to the order:
If required, the customer can add any other items to their order.
To proceed with the order, they will press the "Checkout" button at the bottom of the screen, which will then display the Order Summary.
To continue with the order, they will need to scroll down to the bottom of the page, then if they're an existing customer that has previously used this integration, they can press the "Login" button to login.
Otherwise, they will need to enter their First Name, Phone Number, Email Address, Password and Confirm Password.
A text message will be sent to the customer's Phone Number containing a unique SMS Code to confirm the account.
They will enter the code, then press the "Verify Code" button to continue.
The customer will then be prompted to select a Payment Method to pay for their order.
The order will not send without completing this step.
Once the payment details have been entered, the Confirm Order button can be pressed to proceed.
A Thank You For Ordering page will be displayed, confirming that the order has been received.
The order will be sent to Idealpos and will be saved to the Table Number that was entered by the customer.
The below example shows Table 60 selected (bottom-centre of the Table Map).
The Kitchen Dockets will also be printed for any items that were ordered.
If a table only consists of items ordered by a customer via the Idealpos Local Serves Online Ordering site, all items will be prepaid and no further payments are necessary.
When the Table Details for such a table are displayed, the "Outstanding" column will show that there is no money owing.
From the Table Details screen, press Select All". then "Pay 0.00".
If a Clerk has added any other items to the table using the Handheld app/Pocket Pad app or via a POS Terminal, those items awaiting payment will be listed on the Table Details screen. The Select All, then Pay buttons can be used. Any items already paid via the Idealpos Local Serves Online Ordering site will have a 0.00 outstanding amount, and any unpaid items will show their respective due amounts.
Tender the sale to clear the paid items from the table:
The Table status will be set to ready for the next customer.
If the Yes/No Option "Auto "Finish" Table after Finalisation" is disabled, you will need to select the Table from the Table Map, then press "Finish" so it can be used by the next customer.
Any Pre-Paid Idealpos Local Serves Online Orders will also appear in the Journal History Enquiry and a Docket can be printed for the customer, if they require.
Go to: Back Office > Enquiry > Journal History.
Select the Journal from the list, then select "Docket Print" from the top-left hand side of the window.
A Customer Docket will be printed:
A separate journal will also appear when the sale was tendered for the pre-paid items.
If any additional items were ordered by the customer via the traditional methods (such as via Pocket Pad, Handheld App or via the Table Map on a POS Terminal), those items will appear within the separate journal. The below example shows the highlighted journal as a 0.00 CASH amount, as the customer did not have any additional items saved to the table via the traditional means (via a POS Terminal or Pocket Pad/Handheld apps).