Before performing a Stocktake, it is a good idea to download the data from Idealpos, as new details may have been added.
If the data was not cleared when uploading from the previous Stocktake, you can download the data again which will overwrite any data on the device.
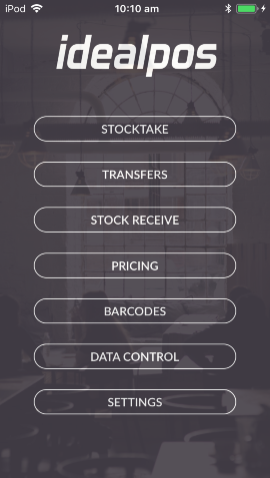
When you have finished downloading your database, go to the Stocktake menu from the main screen.
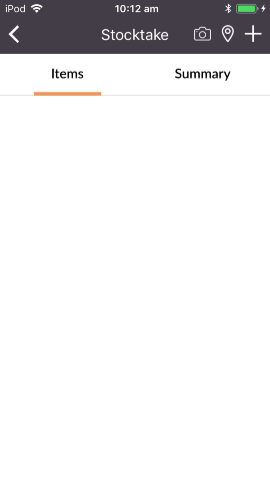
The ‘Stocktake’ menu is very functional and user-friendly.
By default, the last Location accessed while in this menu will be selected.
The exception to this is if you have downloaded a new database.
In this instance, the default location will be the first location in the list from Idealpos.
You can toggle between locations by pressing the location button.
When you are happy with the Location, you will be using press Menu to return to the previous screen, search for an item by scanning it with the barcode reader, or press the + button to search for an item.
You can scroll to the item you want or search via description or stock code.
If the item does not display after being scanned, or you cannot find it, then it is not enabled for that location.
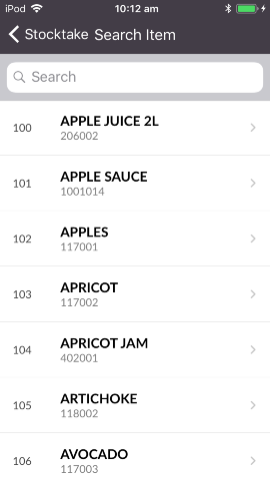
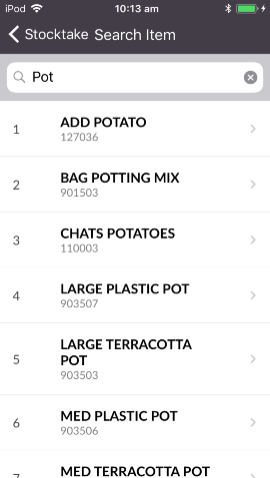
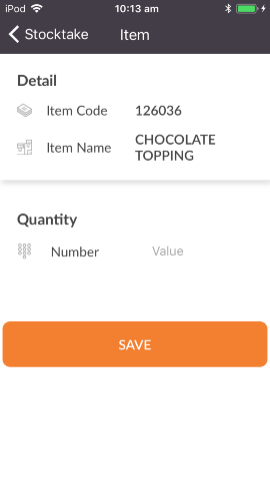
Once you have found the item you want to count, select it from the list.
Enter the quantity you have counted of the item and press Save.
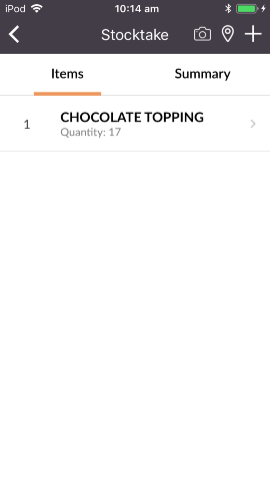
You can now add more items to the stocktake, including more items that are the same as previously counted.
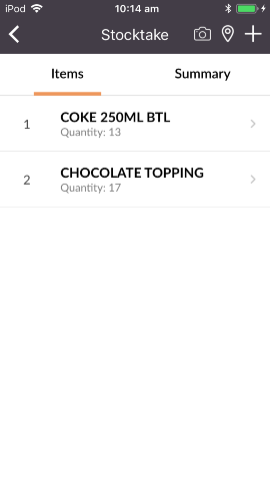
The Stocktake count will show the items in the order they have been entered.
The summary page will accumulate all items of the same code, regardless of when they were entered on the count.
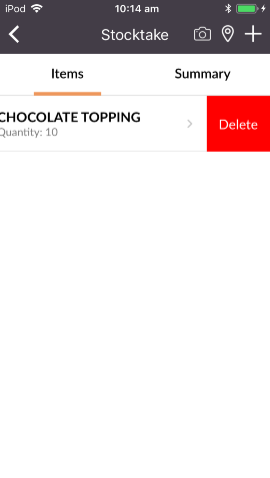
If you have counted something you wish to remove, gesture from right-to-left on the item in question.
A ‘Delete’ button will display on the selected line.
Press it to remove the item from the stocktake.
The Stocktake won’t be processed in Idealpos until you upload the data.