This tab will focus on the advanced settings of the POS Terminal that affect Prices, Display and User Defined Options.
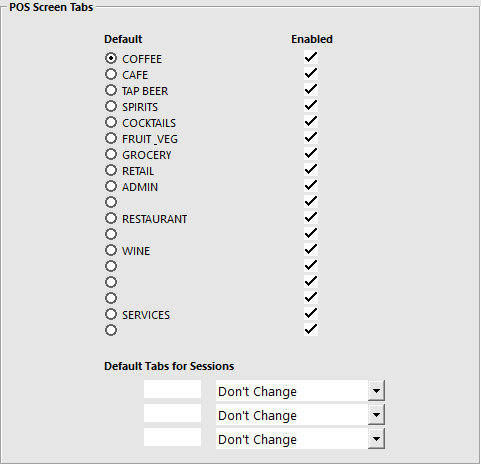
This section will set the Default tab to use when the POS Screen first opens.
You can choose which tabs you want available to each individual POS Terminal using the checkboxes.
Blank tabs are not in use.
Default Tabs for Sessions can be used to program the default tab to change as the day continues.
This can be useful if you have a Breakfast, Lunch & Dinner Tab.
Enter the time in the field in 24hr format.
Use the drop-down menu to select which tab is to be used at the time.
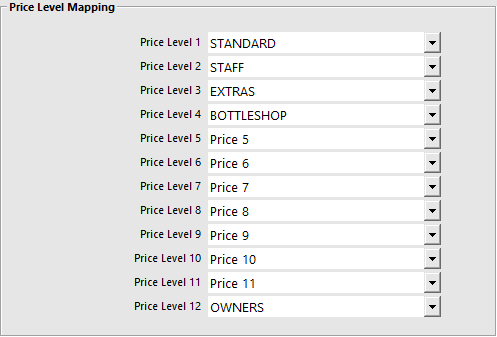
This function allows you to assign a price level to be used in place of the price level that would ordinarily be selected.
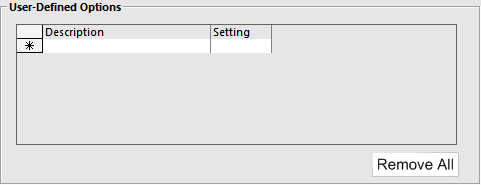
This section is used to add custom features and functions that are not available in a standard Idealpos installation.
They are commonly used to allow or disable functions that for one reason or another cannot be programmed to work any other way.
These options are very important and can cause havoc without proper use and instruction.
It is recommended to only use them where you have been advised to do so.
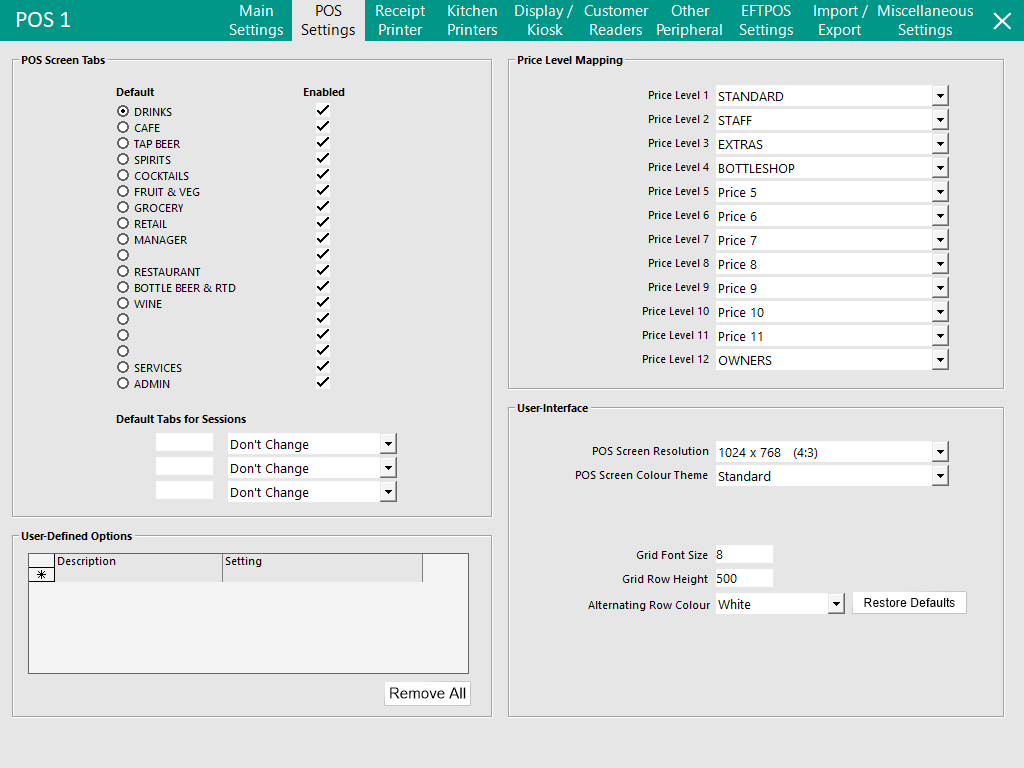
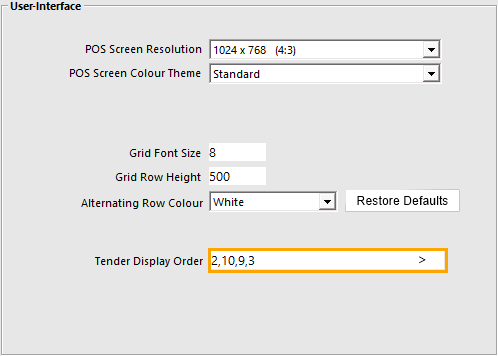
This section will enable the customisation of the User Interface for the Terminal.
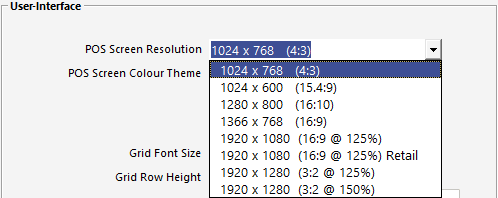
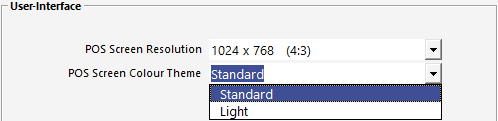
Select a resolution and Colour Theme (Standard or Light) for the POS Screen.
Selecting a resolution that is smaller than the Windows Screen Resolution will result in the POS Screen appearing in a window.
Selecting a resolution that is the same as the Windows Screen Resolution will result in the POS Screen occupying the entire screen.
Examples of the below resolutions and colour themes can be found within the POS Screen Resolution and Colour Theme page.
The supported POS Screen Resolutions are:
The supported POS Screen Colour Themes are:
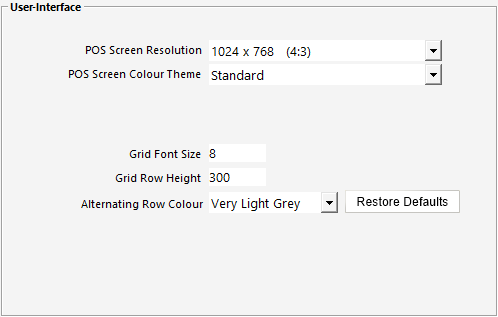
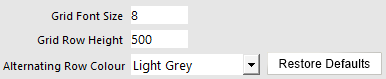
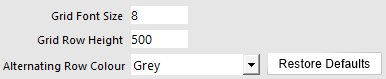
The following options (Grid Font Size, Grid Row Height and Alternating Row Colour) will affect windows in Idealpos that use a grid to display a list.
Examples of windows in Idealpos that the above settings will affect include:
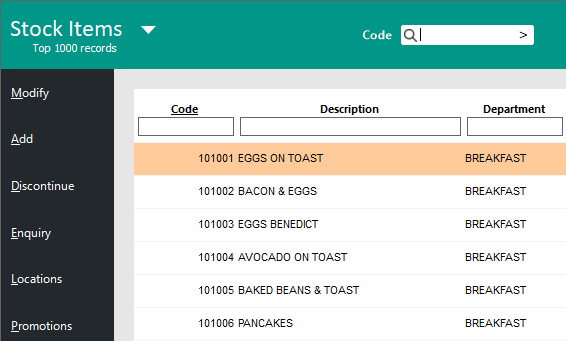
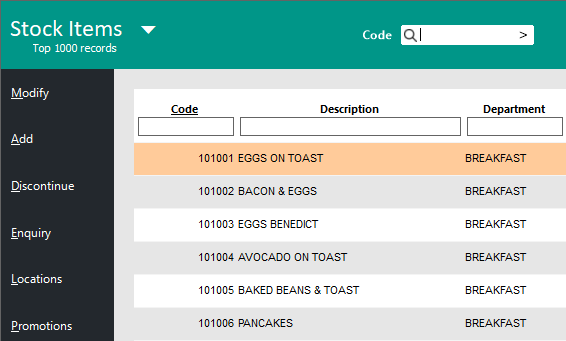
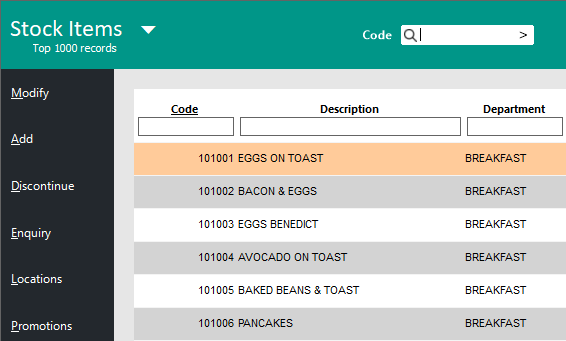
The below are a set of examples to demonstrate how the settings affect the Stock Items Grid (File > Stock Control > Stock Items).
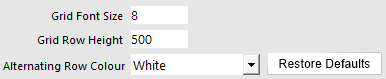
Default Settings (Grid Font Size 8, Grid Row Height 500, Alternating Row Colour White):
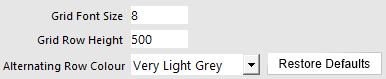
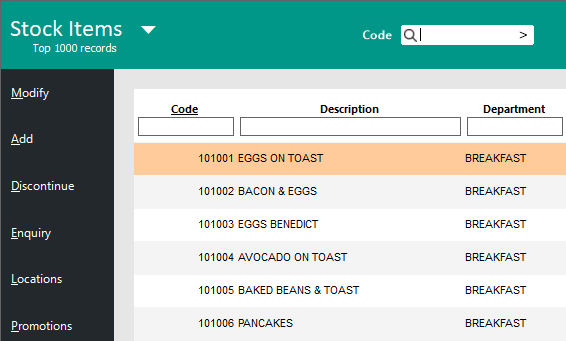
Alternating Row Colour set to Very Light Grey:
Alternating Row Colour set to Light Grey:
Alternating Row Colour set to Grey:
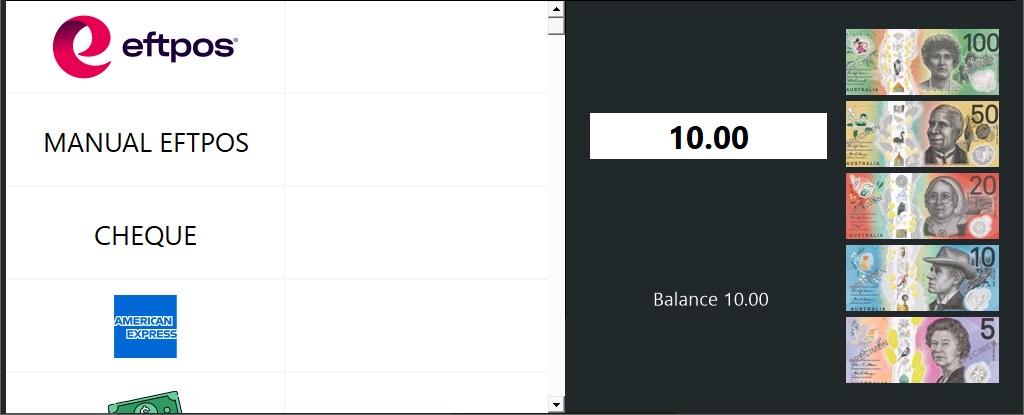
The Tender Display Order function can be used to change the Display Order of Tender Types on the Tender Screen of the POS.
This is useful for setting the most used Tender Types so that they appear at the top of the list, reducing the need to scroll through the Tender Types to access frequently used Tender Types.
Press the ">" button within the Tender Display Order field and select a Tender Type > OK.
The Tender Type Code will be added to the Tender Display Order field.
Repeat the process to add additional Tender Types to the Tender Display Order field.
Alternatively, the Tender Type Codes can be manually entered into the field as a comma separated list without using the ">" button.
Enter the Tender Type Codes into the Tender Display Order field as a comma separated list (e.g. 1,3,5, etc.).
The Tenders will be displayed in the order specified in this field.
Note that not all enabled Tender Types need to be specified in this field.
The Tender Types entered in the Tender Display Order field will be displayed at the top of the Tenders list in the order shown in this field, followed by the default order of the remaining Tender Types that haven't been specified in this field.
Hovering over the Tender Display Order field will also show the full names of the Tender Types in the entered order.

Once the Tender Display Order has been set, the order should apply at the POS Terminal on the next sale.
If the Tender Display Order does not take effect, restart the POS Terminal or perform a Close Suite/Open Suite on the POS Terminal.
When Tendering the sale, the Tenders will be displayed in the configured order, as shown in the example below.