This option toggles whether or not all details used within Idealpos is recorded.
The Activity Log is responsible for recording Admin functions, sales and User Access.
This option is turned on by default.
Activity Log can be viewed on the Back Office screen, or by going to Enquiry > Activity Log.
This option opens an on-screen keyboard to enable entering of alpha-numeric text on the most commonly used fields within Idealpos.
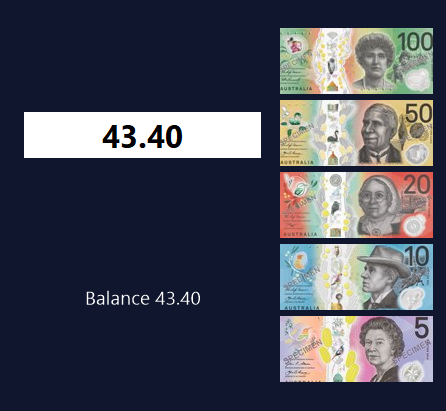
This option requires the user entering a decimal point when entering dollar values into the POS Screen.
$43.40 will be entered as 43.40.
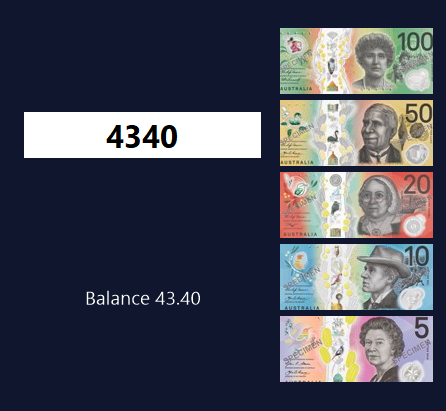
When this option is not selected, amounts entered do not require a decimal point.
$43.40 will be entered as 4340.
This functionality is used throughout the program affecting CashOut, Float Entry and Cash Declaration screens.
Screens that are affected will also display a 00 key for fast entry on the numerical keypad.
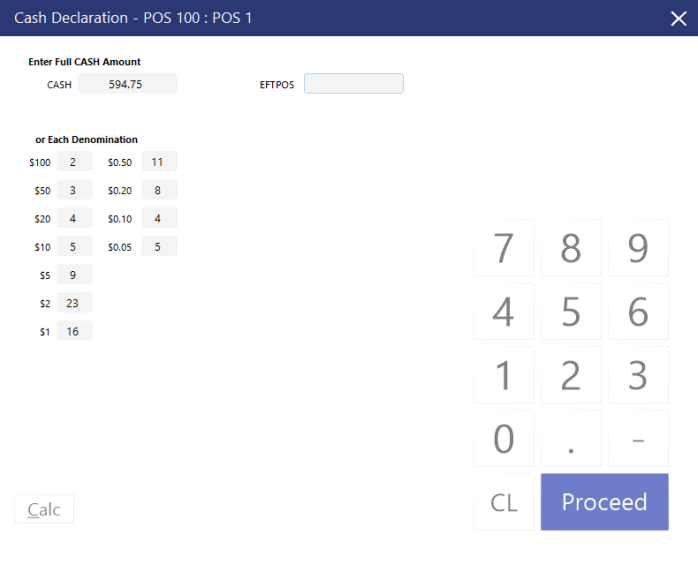
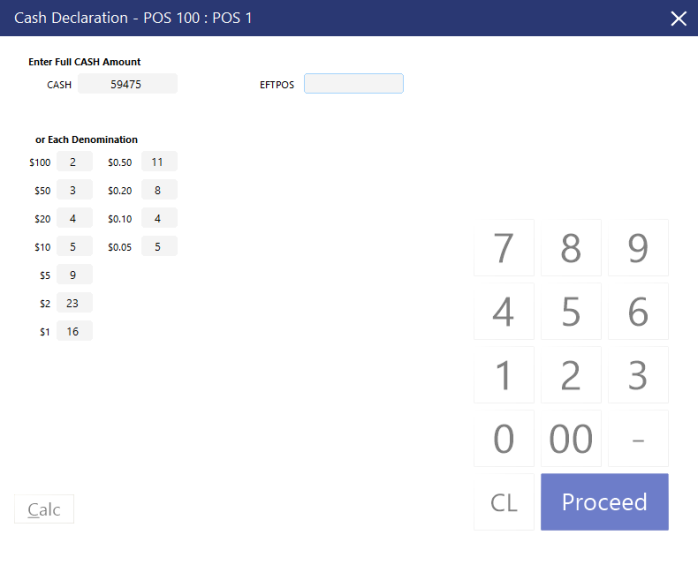
An example of the Cash Declaration screen when the "Amounts are Whole Dollars" option is enabled:
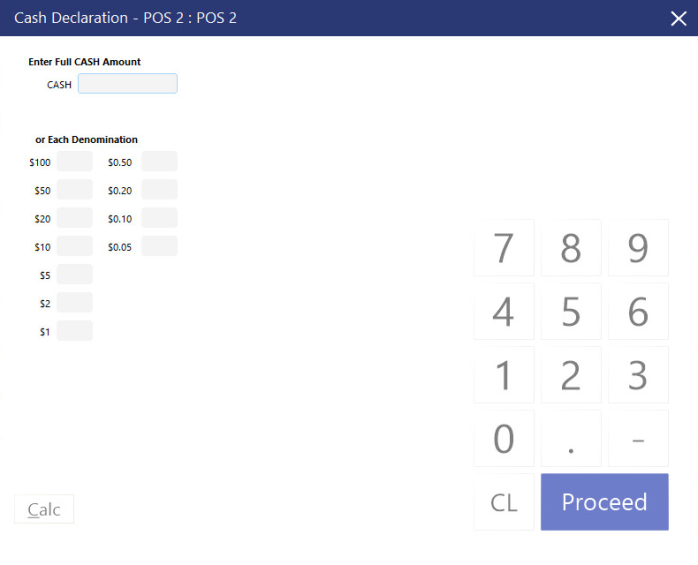
An example of the Cash Declaration screen when the "Amounts are Whole Dollars" option is disabled:
This option will automatically enter a scan code into any new records that have the ability to be linked to scan codes.
It will not enter codes into records that have previously been fulfilled.
Integrated Eftpos tender types will be auto-populated and unnecessary to count for Cash Declarations.
Note that the Cash Declaration will auto-populate the Integrated EFTPOS Totals if the "Include in Banking" setting is disabled in the EFTPOS Function Descriptor.
If you want to force the Clerks to manually enter the Integrated EFTPOS totals, please ensure that the "Include in Banking" setting is enabled on the EFTPOS Function Descriptor (go to: Setup > Function Descriptors > Select EFTPOS Tender > Modify > Enable "Show in Banking").
Cash Declaration screen with this Yes/No option enabled (the EFTPOS field is hidden as it is being auto-populated)
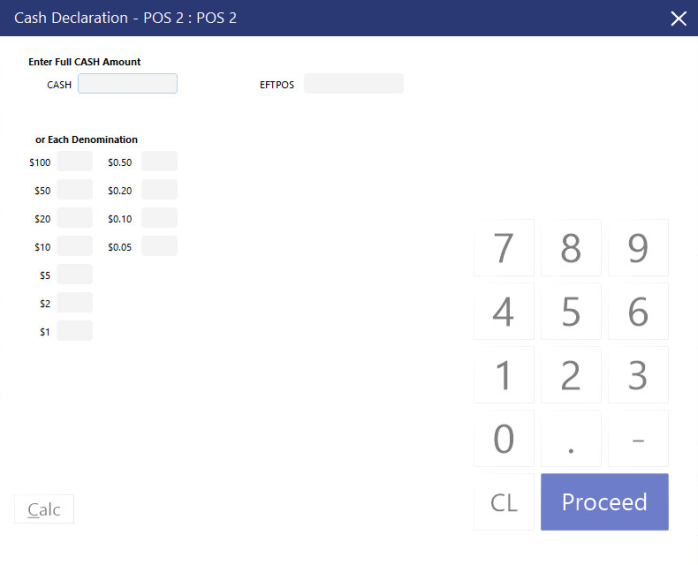
Cash Declaration screen with this Yes/No option disabled (the EFTPOS field is displayed as it isn't being auto-populated and the Clerk will need to enter the EFTPOS value)
This option will only show the value of the monies counted from the drawer and not what has been removed through safe drops.
When using a Customer Display, this option will allow Type Text lines to show on the Customer Display.
Description 2 field will be filled in automatically using Description 1 when a new stock item is added.
The Description 2 field is located in the ‘General’ tab of a Stock Item.
By default, the Description 2 field is referred to as the Kitchen Description, but this can be changed via Setup > Global Options > Other Options > Stock Item Descriptions.
Description 3 field will be filled in automatically using Description 1 when a new stock item is added.
The Description 3 field is located in the 'General' tab of a Stock Item.
By default, the Description 3 field is referred to as the Long Description, but this can be changed via Setup > Global Options > Other Options > Stock Item Descriptions.
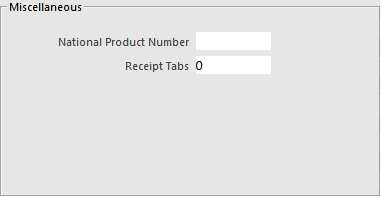
This option will print Receipt Tabs specified for items of clothing when entered for dry cleaning.
The Receipt Tabs must be entered for each item individually through File > Stock Control > Stock Items > Modify > Advanced > Miscellaneous > Receipt Tabs.
Special paper and printer ribbon is required for the printer for use with the dry cleaning chemicals.
Gilbarco interface is used for fuel sales.
Most fuel sales are set as Department Sales, but this option allows it to be used with Stock Items.
This option will not allow you to view other locations that are not linked to the same site as the current terminal.
This option will not allow users to change the width of the fields for Stock Items and Customers.
Direct Department Sales automatically print to any connected Kitchen Printer.
This option will disable the automatic print.
If kitchen printers are not used when using Direct Department Sales, they will also not print.
This option when not selected will display all the stock items in the stock item list.
If you have a lot of items, you can select this option and items that include the search settings will only display after you select to Search.
This can be useful if you have a large number of items in your database and Idealpos takes a long time to retrieve search parameters.
This option will ensure that each Bar Tab and Table has been finalised and paid for before an End of Shift function can be used.
This will help to have all payments outstanding accounted for when performing cash up procedures.
This function will inhibit Tax from rounding on Individual Items within a sale when using the Canada/USA regional setting.
Although the option is visible to all regions, it will not work.
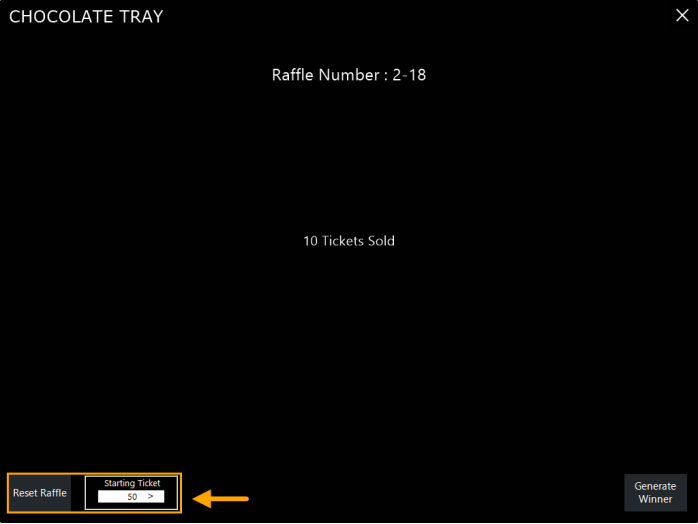
This option will show the winners of Jackpots and Raffles on the Customer Display if it is set up.
This option can automatically be set to allow for a limited User profile to be opened by default.
This can minimize the access that unauthorised staff has to Idealpos.
The default User that you want to open for each terminal can be set by going to Setup > POS Terminals > Modify > Miscellaneous > General > Default User.
This option will only have an effect on dot matrix printers that have a red and black ribbon installed.
It will signify any Text entered that links items printing to the kitchen will print in a RED colour on the kitchen receipt.
This is generally used to gain the kitchen staff’s attention to an item that needs special requests.
It is important to back-up the database of Idealpos as often as possible.
Idealpos can prompt to do this every time the software is exited.
A backup will take a different amount of time for each installation and is dependent on many factors, including the size of the database and the terminals hardware.
This option will round all sales down to the nearest $0.10c after any discounts and promotions have been calculated.
This option will round all sales up or down to the nearest dollar after any discounts and promotions have been calculated.
This option will round all sales to the nearest $0.10c after any discounts and promotions have been calculated.
This option will round all sales to the nearest $0.05c after any discounts and promotions have been calculated.
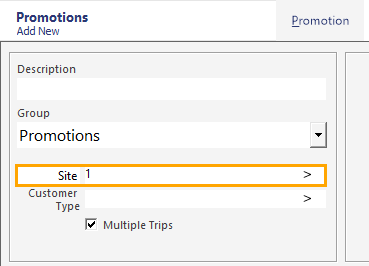
This option will only be applicable if POS Terminals are linked to Sites.
If Sites are not being utilized, messages can be sent to all POS Terminals.
This option will display the date that someone must have been born before or on to be classified as legal drinking age.
The Adult ID Date will display at the top of the POS Screen for use in a sale.
By default, this setting is set to 18 years but can be modified via Setup > Global Options > General > Adult ID Age.
This option will allow you print the float amount that was entered at the beginning of the shift.
This will only display when using XREPORT Automatic Text on a Banking Report.
This option will allow you print the float amount that was entered at the beginning of the shift.
This will only display when using XREPORT Automatic Text on a Banking Report.
Note that this Yes/No Option is exactly the same as "Show Float Amount on X-Report".
When the Idealpos Region is set to USA in Setup > POS Terminals > Modify > Main Settings > Region, this Yes/No Option will appear with the word "Starting Bank" in the description, any other region will show "Float".
This option causes the Slyp Digital Receipt to only be triggered on Customer Sales (i.e. the prompt will only be displayed when a Customer has been added to the sale).
The SMS and Email fields will be automatically populated using the data that has been configured for the Customer which has been added to the sale.
In order for this option to apply to a POS Terminal, the Yes/No Option “Slyp Prompt for Digital Receipt” must also be enabled for the same POS Terminal.
Refer to the Slyp Interface topic for more information about setting up and using the Slyp Interface.
This option gives the ability to turn on/off by POS Terminal the Slyp Digital Receipt prompt.
Note that you must have “Prompt for Digital Receipt” enabled in Global Options > Interfaces > Slyp in order for this Yes/No Option “Slyp Prompt for Digital Receipt” to take effect and apply to the selected POS Terminal numbers.
Refer to the Slyp Interface topic for more information about setting up and using the Slyp Interface.
This option will close POS down completely, requiring a full restart.
By default, this option is not selected.
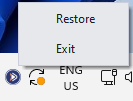
When you close POS, a terminal icon will remain in the task bar which can be selected to Exit POS completely or Restore the session.
Certain functions within Idealpos will cause POS to close down totally and this option will not display.
This option allows scheduled items to run, packets to process and faster start of POS.
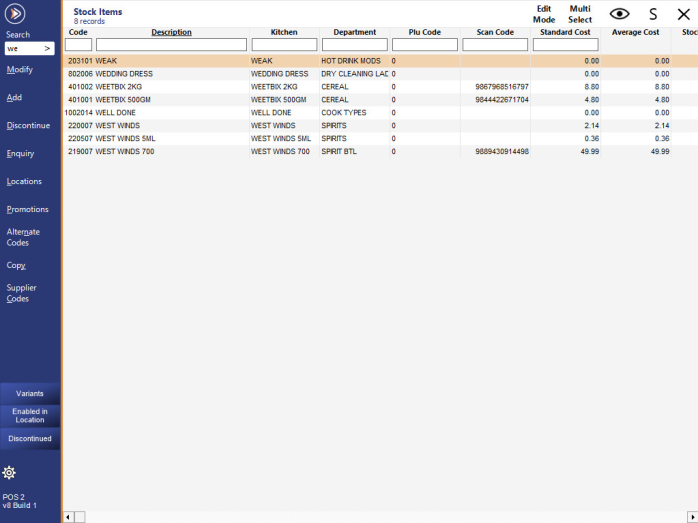
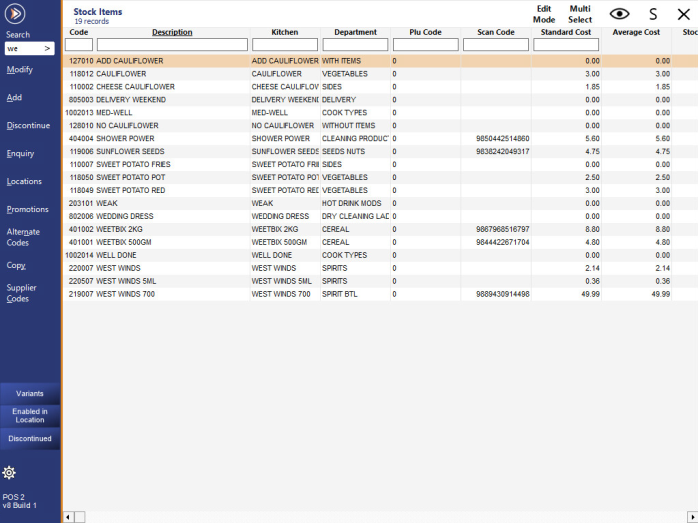
This option is used to find items in the Stock Item List faster by showing all items that contain the combination of alpha-numeric selections you enter.
By default, if you want to use WildCard searching, you can place a * before any text.
This option will negate the need to enter a *.
Without the option selected: Only 8 items are found.
With the option selected: 19 items are found.