The Graphic field can be used to assign a graphic to a Stock Item.
Once a graphic has been chosen, it will be displayed in the Stock Item's Advanced tab.
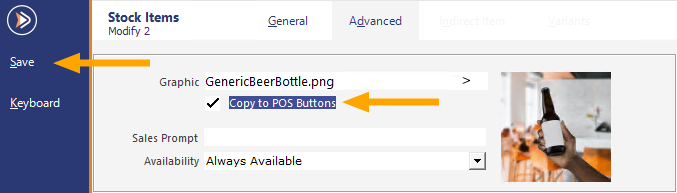
When a graphic has been chosen, you can also use the "Copy to POS Buttons" checkbox to copy the image to all buttons on the POS Screen that are linked to the Stock Item.
This will update the POS Button image on all POS Screen Layouts that contain a button linked to this Stock Item.
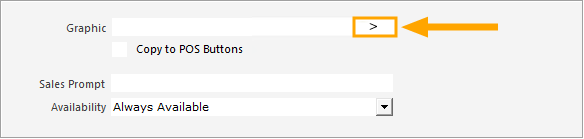
To utilise this function, press the ">" button in the Graphic field.
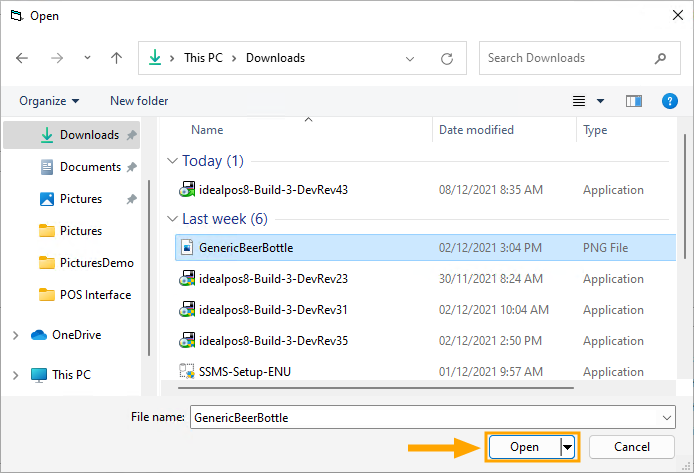
Browse to a folder that contains the graphic you want to assign to the Stock Item, then press the "Open" button.
The graphic will be displayed next to the Graphic field.
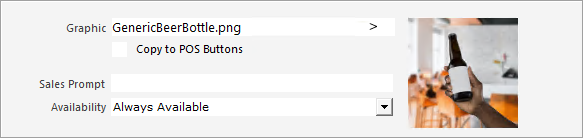
If you want to copy the image to your POS Buttons, enable the "Copy to POS Buttons" checkbox.
This will trigger the image to be copied to any existing Stock Item buttons on your POS Screen that are linked to the Stock Item.
This will take place on all POS Screen Layouts that contain a POS Button linked to this Stock Item.
The image will also automatically be copied into the Pictures folder where all your other Stock Item POS Screen button images are located (C:\ProgramData\Idealpos Solutions\Idealpos\Pictures\).
Enable the "Copy to POS Buttons" checkbox, then press the "Save" button on the top-left corner of the window.
One final step (Send Pictures Folder) is required so that the image appears on the POS Buttons at each of your networked POS Terminals.
Go to: Utilities > Send > Pictures Folder.
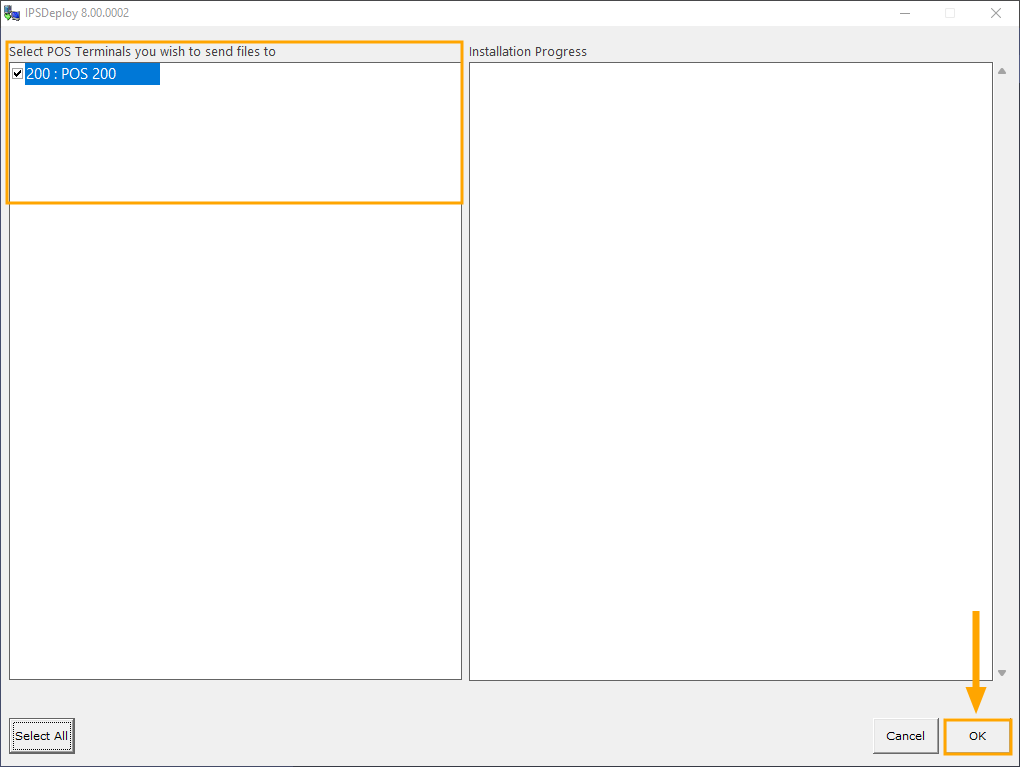
Select the POS Terminals that you wish to send the Pictures Folder to, then press the "OK" button on the bottom-right corner of the window.
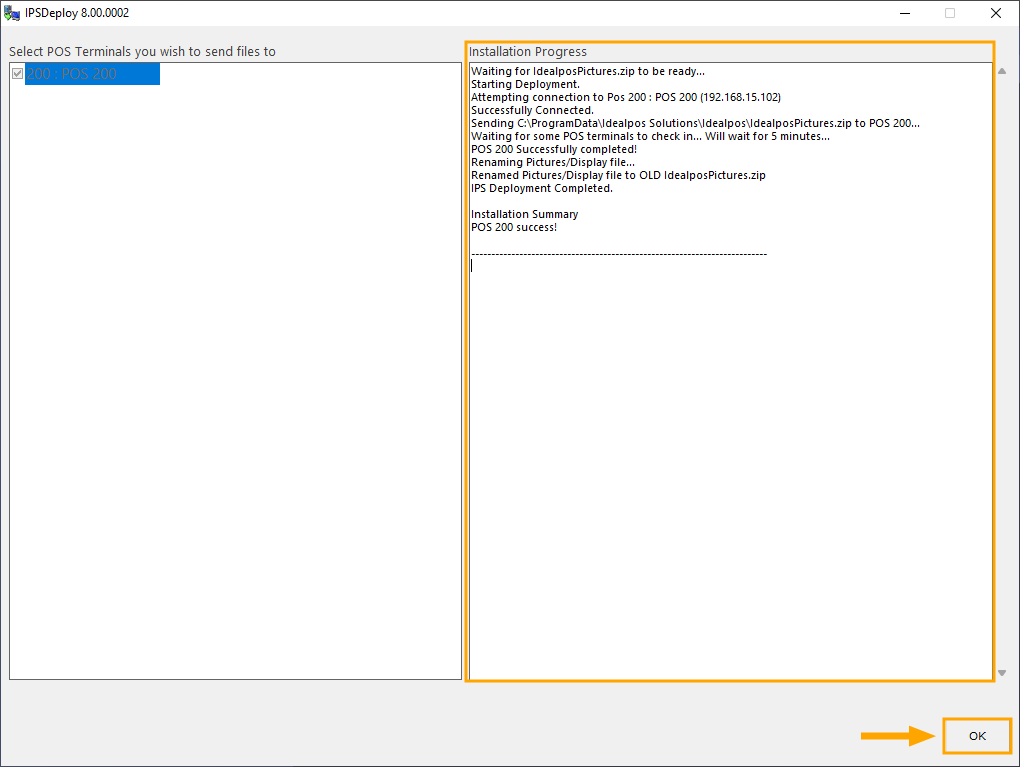
The Installation Progress will be displayed on the right-hand side of the window.
Once completed, press the "OK" button on the bottom-right corner of the window.
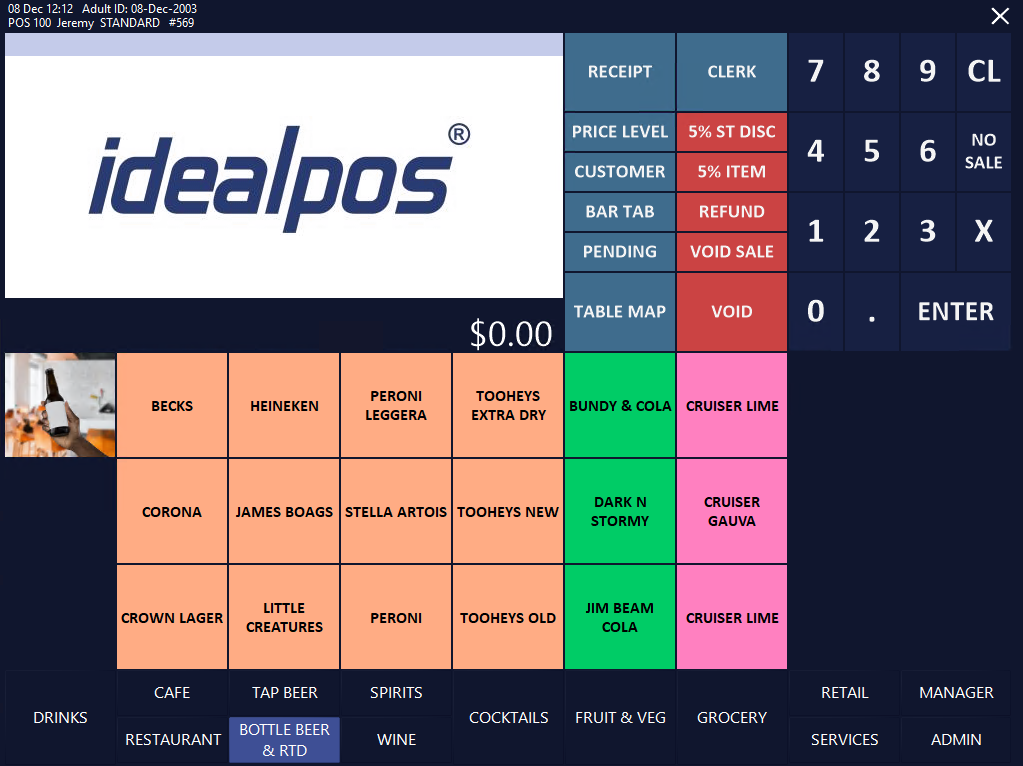
The image will now appear on each POS Button that's linked to the Stock Item.
The below example shows the button the Bottle Beer & RTD Tab of the POS Screen.
A button for the Stock Item was pre-configured before the above steps were carried out.
Your POS Screen Layouts can be modified by going to: Back Office > Setup > POS Screen > POS Screen Setup > Select the POS Layout > Buttons.
Further details on using the POS Screen Layout function are available in the POS Screen Setup topic.